How to Avoid Layer Shift in 3D Printing
Recently, someone asked us a question about how to avoid layer shifting. There are many different reasons that could contribute to layer shifting. So it’s hard to pinpoint it to just one. The most common we seen from many cases are the slipping of pulleys and loose grub screws. Of course, there are still many behind, today we’ll break down the detailed reasons one by one, behind all these scenes.
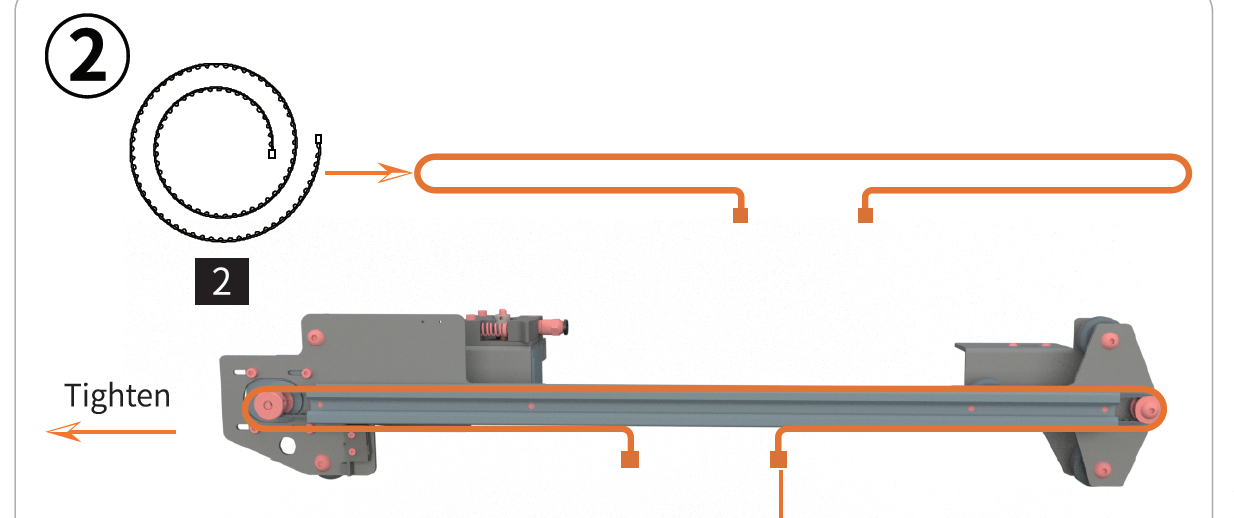
Cause 1 Synchronous belt on the motor is loose.
The synchronous X-axis belt and Y-axis belt on 3d printers could stretch out over time. So just be sure that they’re still maintaining their tension, with a slight twang when plucked. If they’re too loose, check if your printer has built-in belt tensioners that you can use. If not, consider printing your own tensioner or replacing the belts.
Cause 2 Screws on the Synchronous Motor are Loose.
If the set-screw on the belt pulley has come loose or it was not secured on the flat side of the motor shaft, it can slip and may cause issues with the axis not moving perfectly in tandem with the motor's rotation. Also, the pulleys connected to your printer’s motors are the metal, toothed pieces that come into contact with the belts. So check if the screws are tight or not because they are supposed to be held in a suitable place.

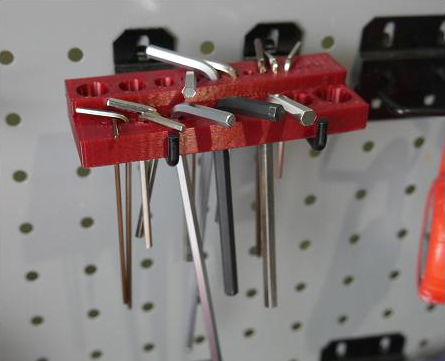
Use your allen key set, always make sure you got a whole set of allen key set with you. Most 3D Printer is assembled using a multitude of socket head machine screws. So arm yourself with a full set of allen/hex key.
Layer shifting – which means the layers of the object do not align properly. It could also be caused by any external force, like nudging your printer and causing a disturbance during printing. So, besides the above 2 main reasons, you can also check some factors as follow:
1, Removed all the grease or any tiny objects on bearings and rods, print 1st time, then oiling them again, print 2nd time, you will find the difference if the printer work perfectly or not;
2, Make sure the print head (the part moving along the X-axis) can move freely in the entire range. Especially the cable bundle attached to the extruder should not prevent the print head from reaching the end of the axis;
3, Geometry objects printing and setting. Just to keep in mind that even some normal items (to be printed) might warp upwards during the print, not to mention that objects with overhangs are generally harder to print. The same can happen in some cases if you choose too small infill percentage when slicing the 3D model. Make sure your setting are ok to prevent printing overhangs.
If your problem still exist, no worries, at least you have checked some of the most important parts of the printer, and you can now be sure they are OK. If you still have questions on this issue, just feel free to comment below, we will try our best to figure it out with you.
Leave a comment