
How to Apply Octoprint Control to Your 3D Printer with Raspberry Pi
Step by step, let’s learn how to apply Octoprint onto our 3D printer with a Raspberry Pi together with Mr. Irvin Shapiro from the Dr VAX YouTube channel.
I - Preparation

Step 1, Buy a Raspberry Pi kit from internet which includes a Raspberry Pi, a power supply, a case and a 16GB micro SD card.

Step 2, open the box and we can see a read-me-first manual and a Raspberry Pi.

The Raspberry Pi has a silver chip in the middle. It’s actually a computer surrounded by lots of support parts.
There are four USB ports, an Ethernet port, a HDMI port and a power supply port on the Raspberry Pi board. Also there is a connector for display which is not needed here for the Octoprint installation.
We only need to connect the USB ports and the power supply port here.
Note: the power supply must have enough amperage to run this project. It’s better to have a 2.5A power supply as we’re going to run a camera on the Raspberry Pi.
II – Assemble the Raspberry Pi
It’s better to assemble the Raspberry Pi on a silicone mat to prevent static electricity caused damage to the chip.
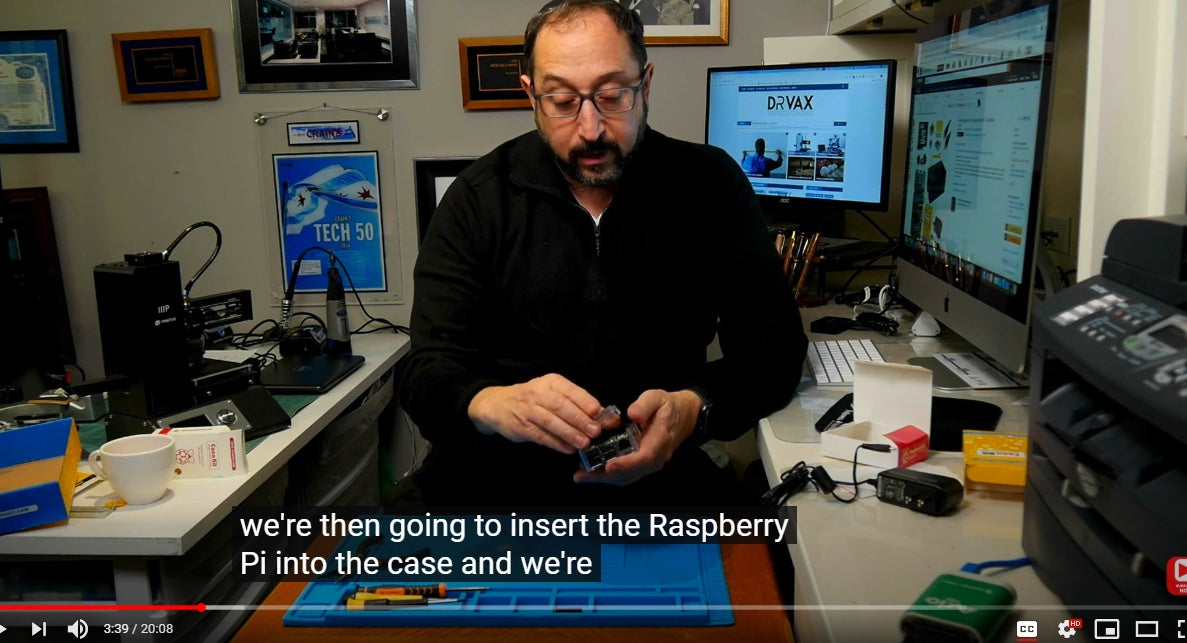
Step 1, Open the case and plug in the Raspberry Pi.
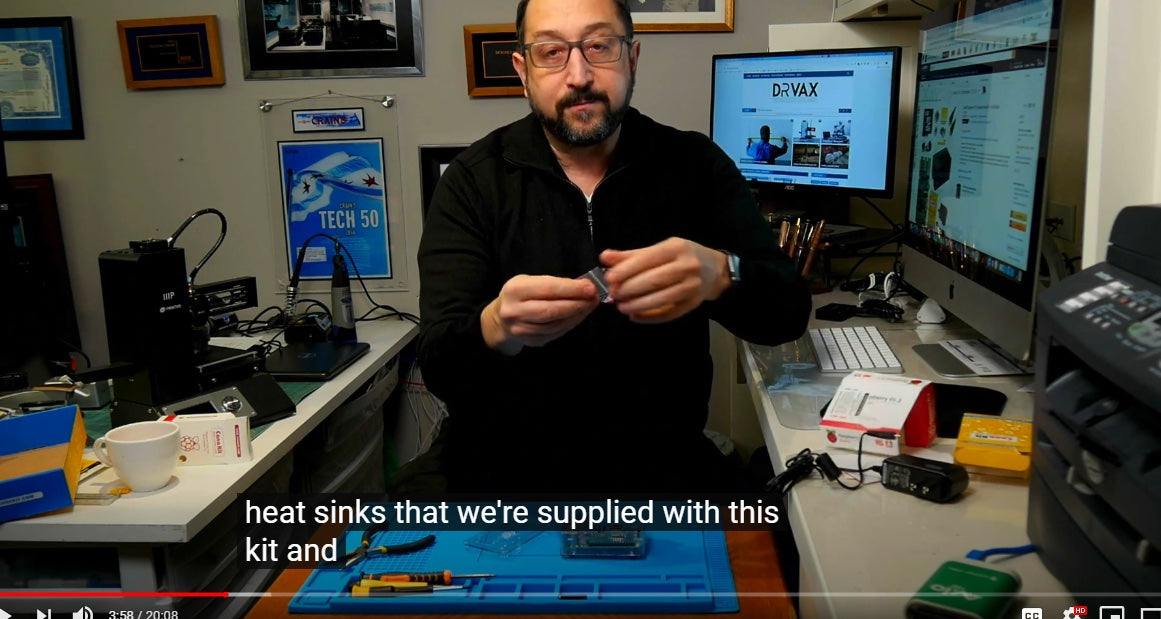
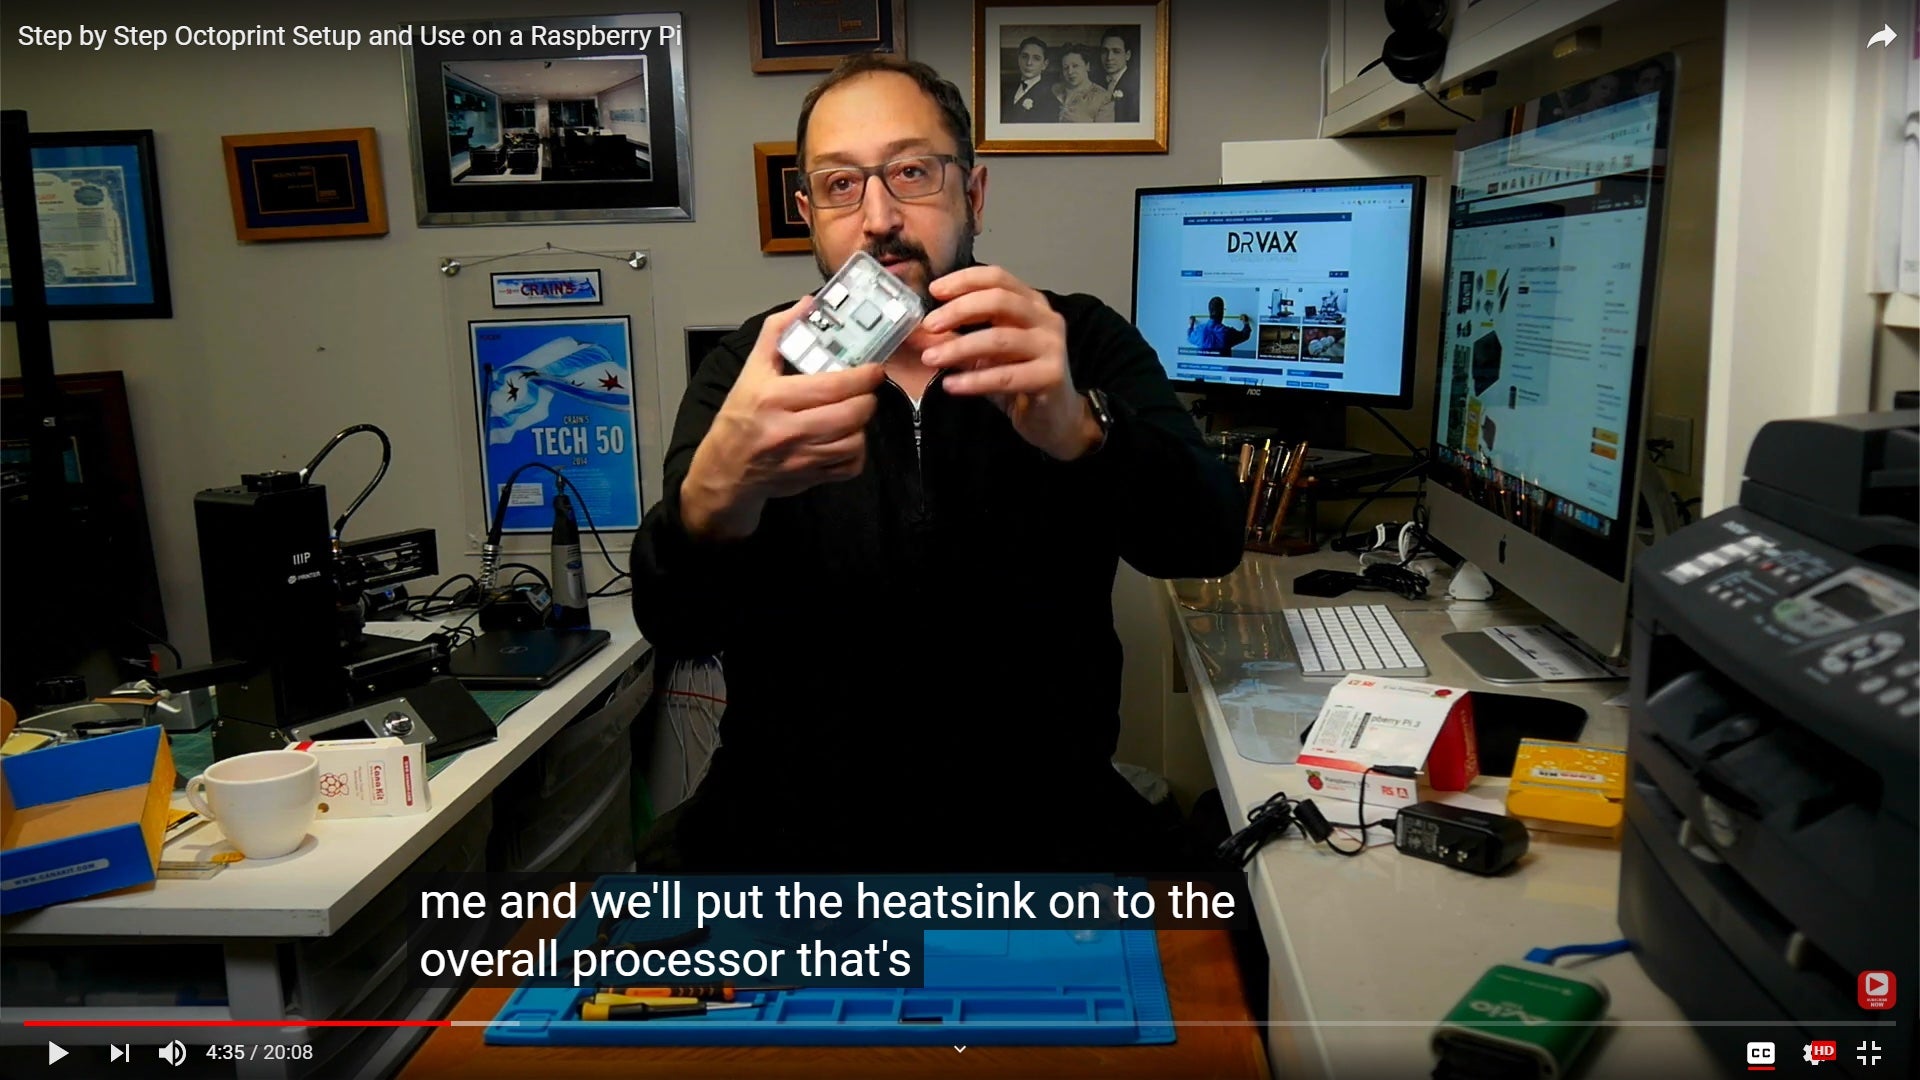
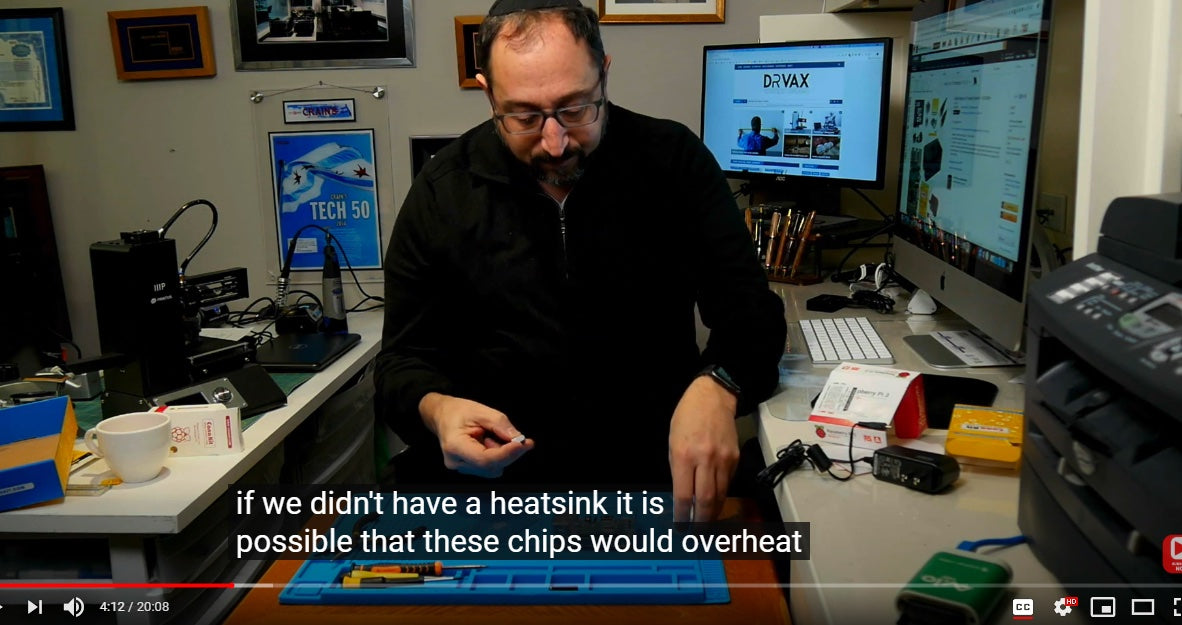
Step 2, Puts two heat-sinks onto the Raspberry PI processor and communication chips to prevent overheat.
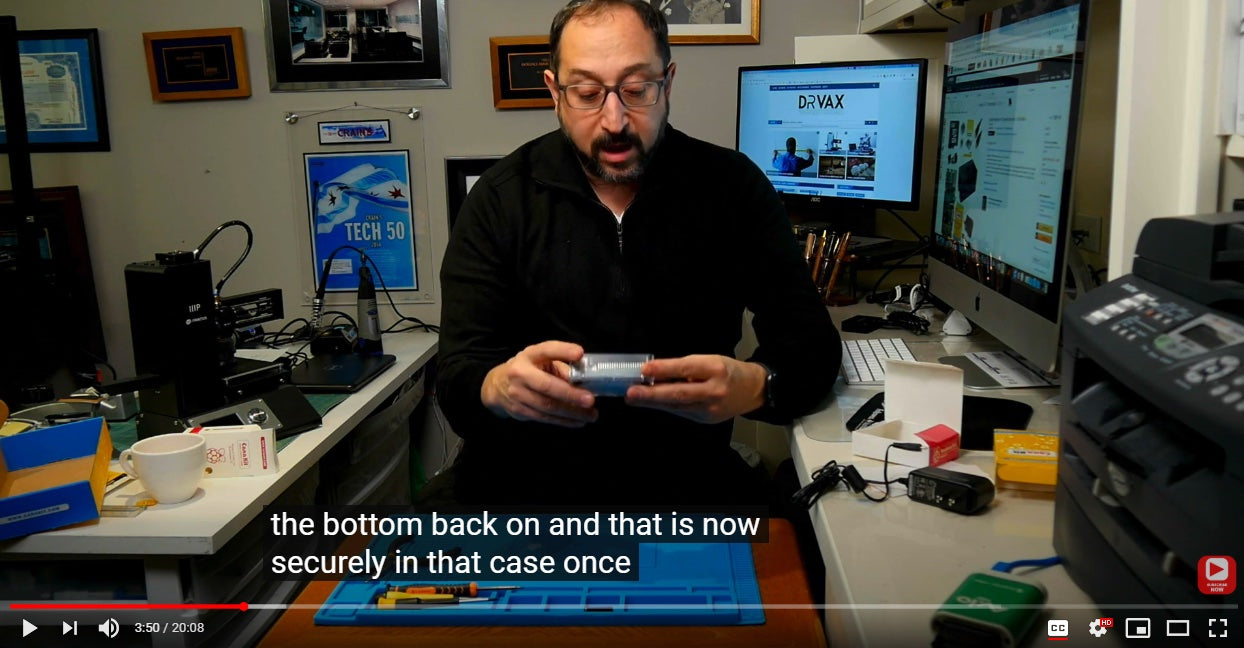
Step 3, mount the cover of the case.
III – Etcher the IMG File into the SD Card
To use this microcomputer built by Raspberry Pi, we have to put an operation system into the SD card.
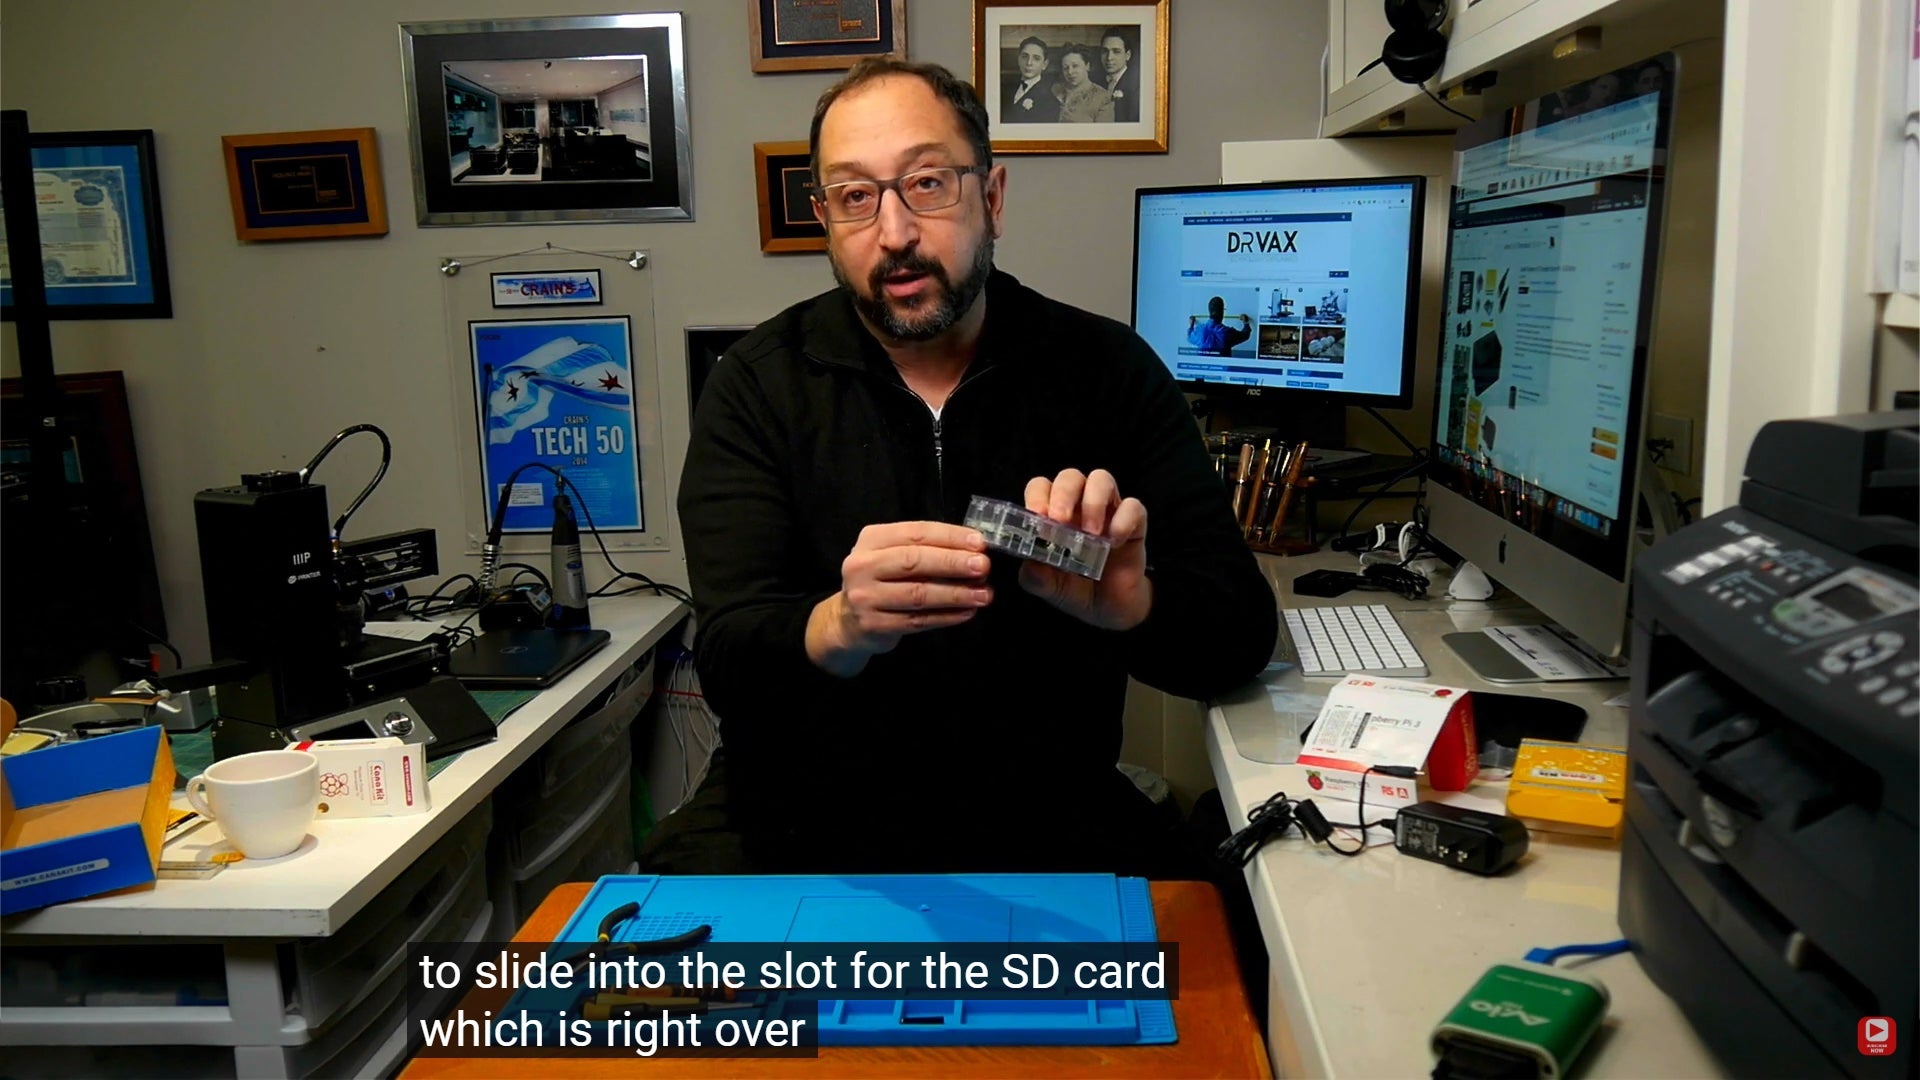
And there is a slot on Raspberry Pi case to put in the SD card.
Step 1, visit octoprint.org and click on the “Download” button at the top.
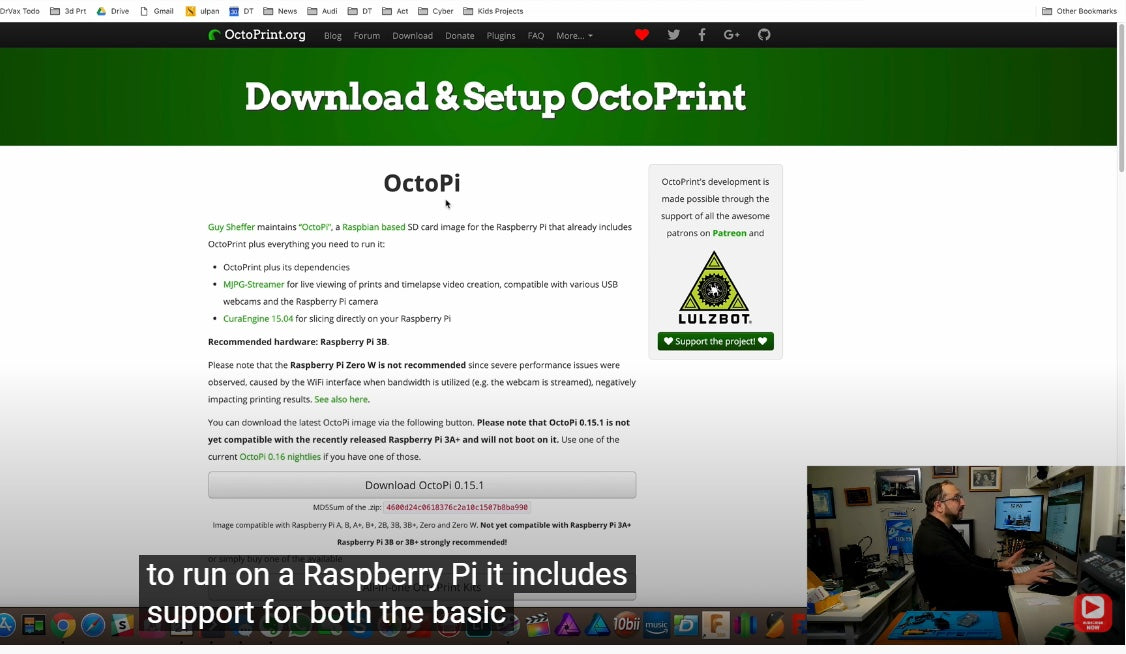
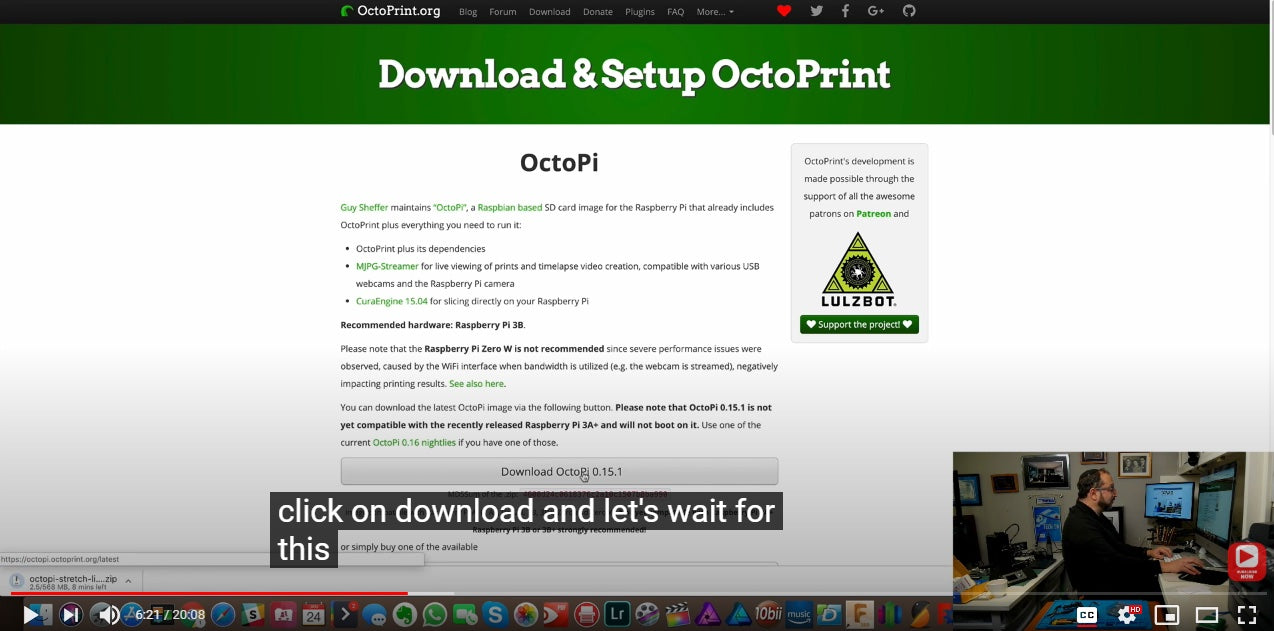
Step 2, click on “Download OctoPi 0.15.1”.
Step 3, open the downloaded file in the file explorer or the Finder on your Mac computer.

Step 4, double click and unzip the file.
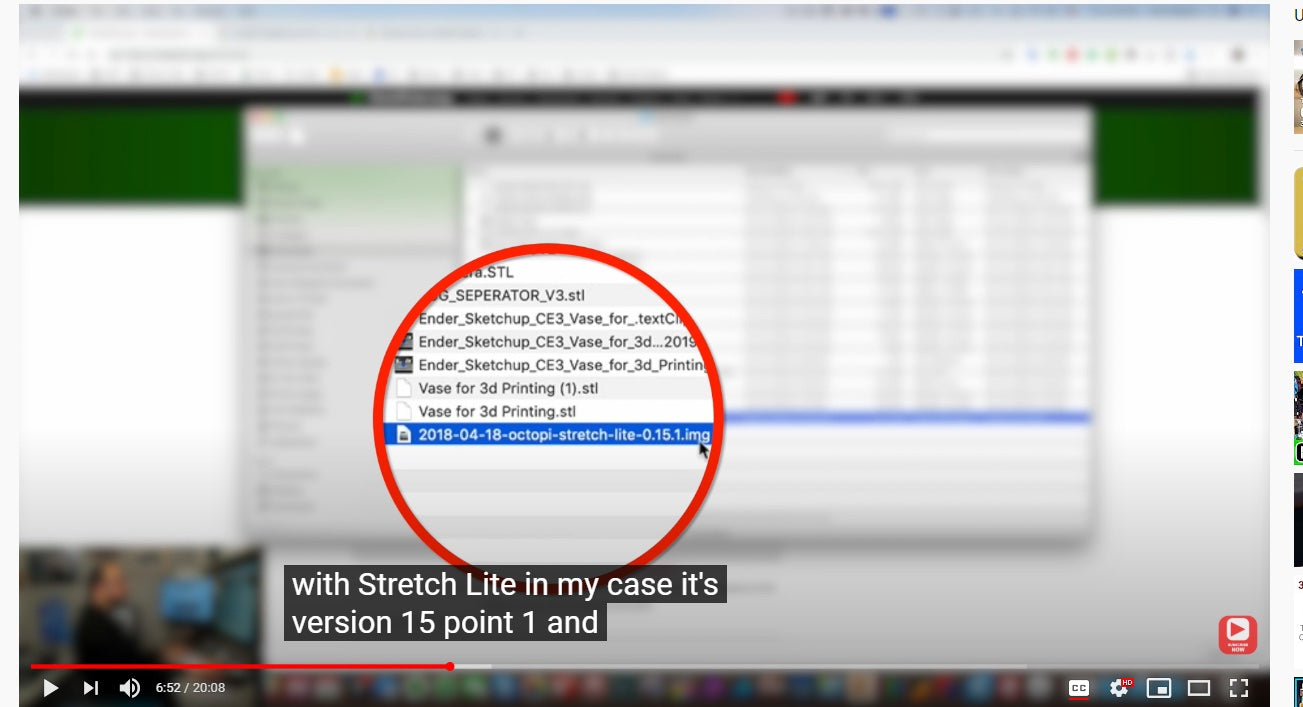
Step 5, find the “img” format file of octopi stretch lite as above picture showed. The file is 2.17GB large.
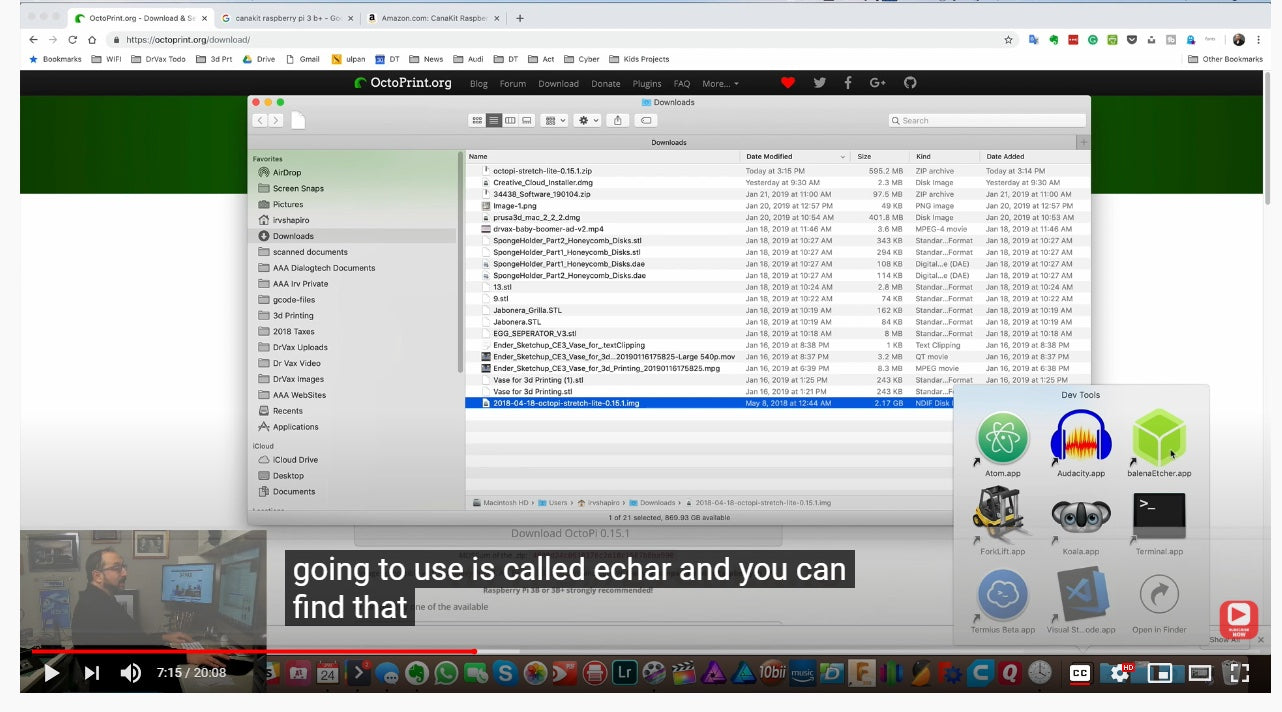
Step 6, visit balena.io in your browser and download the Etcher app for a MacOS or a Windows PC.

Step 7, open the Etcher and click on “Select image” to upload the 2.17GB image file we just downloaded.

Step 8, connect the 16G SD card with the computer.

Step 9, Click on “Select drive” and choose the just connected SD card for the programming.

 Step 10, click on “continue” and then “Flash”. The software will load the file into the SD card.

Step 11, input administrator password as requested and img loading will be completed.
IV – Use Atom to Edit Octopi-WPA-Supplicant TXT File
The Mac operation system won’t recognize the SD card.
Step 1, unplug the SD card and plug it back into the computer again. And the computer will read the SD card as a boot device (see below picture).

Step 2, double click on it and select list mode to browse the files with different licenses


Step 3, download the Atom app from the internet.
Note: Atom App is an easy way for txt programming we strongly recommend here to avoid any mistake from happening.

Step 4, right click on the octopi-wpa-supplicant txt file. Select the “open with” and “Atom” software to open the file.

Step 5, find the “WPA/WPA2 secured network” section. It starts from line 26 and ends at line 30.


Note: any line with a pound sign is a common line in this environment.
Step 6, remove pound signs at line 27 to 30.

Step 7, input network name in line 28 and password in line 29 right between the quotation marks.

Step 8, save the file and quit out of the Atom app.

Step 9, remove the SD card from the PC and insert it upside down back into the Raspberry Pi computer device.
V – Use SSH Terminal to Locate Raspberry Pi to OctoPi
Step 1, connect the Raspberry Pi with the Mac computer.
Note:
Use a secure terminal program named SSH which comes standard on a Mac but on a PC you’ll have to download first.

Different options for Windows PC and a Mac computer:
Windows PC: download Putty (a free SSH terminal emulator), install and run it.
Mac computer: click on “Applications” and then “Terminal” in the “Utilities” folder, and run SSH in the terminal.

Step 2, take a Mac computer for example, we’ll now input “SSH Pi@octopi.local” at the SSH terminal.
Note: “octopi.local” here is the address we connected to.

Note: if it’s the first time you’re connecting, it will ask whether you want to add the location to the SSH directory. Click on “Yes” to continue.
Step 3, input the password which is just “raspberry” by default as reminded in the next line.

Now we get connected to the computer over a terminal emulator.
Step 4, next we change the password to something we can remember.

Type “passwd” in, and then click on “Enter” button. Input the current password and proceed with a new password. And then retype the new password in to confirm the change.

Step 5, all are set and we type “exit” to quit.
VI – Program the OctoPi and Connect it to Your Computer

Step 1, Input “octopi.local” in your browser and press “Enter”.
If you never visit the site before, the browser will warn you that it’s an insecure website. Click on “proceed” (or “go ahead”) to continue. A setup wizard will appear and we click on “next”.
Step 2, now we input the username and password for the Octoprint (not for the Raspberry Pi) at the “Access Control” interface.
Note: this password can be the same as the one for the Raspberry Pi.


Step 3, click on “Keep Access Control Enabled” to require username and password to operate Octoprint. And then we click on “Next”.

Step 4, directly click on “Enable Connectivity Check” since we have no change at this “Configure the connectivity check” interface. And then click on “Next” to proceed.

Step 5, click on “Enable Plugin Blacklist Processing” and then the “Next” button.

Step 6, click on “Next” at the “Set up a slicing profile” interface.
Note: we don’t recommend you use a Cura file because the version of Cura that runs a Raspberry Pi is relatively old at this point.
We’re going to do the slicing here on the Mac computer and upload the sliced G-code files manually.

Step 7, input the name for your printer at the “Set up your printer profile” and click on “Next”.
Step 8, everything is ready and we click on “Finish”. Now we can connect the Octoprint to our computer.
VII - Connecting OctoPrint or OctoPi to Your 3D Printer

Step 1, Connect the Raspberry Pi with any of the USB ports on it to the printer USB port.
Step 2, Connect a web camera to the Raspberry Pi.
Step 3, Connect the Raspberry Pi to a power supply. It’ll reboot and reload with all components ready to get started.
Step 4, go back to “Octopi.local” in your browser and click on “Connect” button to connect Octopi to your 3D printer.

Step 5, click on “Timelapse” tab on the top and select “On Z change” in the “Timelapse Mode’ section to take time-lapse images to record the printing progress layer by layer.

Step 6, Click on “Upload” at the bottom left of the “Octopi.local” to upload the sliced file you want to use.
Step 7, click on “Load and Print”.

Step 8, go back to the “Temperature” tab and we can see the print bed is now starting to heat up.
Step 9, wait until the nozzle and the bed reach the target temperatures and the printer will start the printing.

Click on “Control” tab and we can see the printer and the printing process through the camera which was installed before.
Following the guidance made by Mr. Irvin Shapiro, now we successfully applied the OctoPrint to our 3D printer with a Raspberry Pi step by step. And it’s quite easy! Why not have a try on your 3D printer?
If you have any questions, please feel free to leave comments down below, our guys are waiting to help you. Joining our community is also a good idea, you can get information, model files, g-code files, tutorials and find the enthusiasts as you are. It's a place where creative people gathered, just hit the link: https://forum.anet3d.com/
Leave a comment