Full-Size Mandalorian Helmets on Small 3D Printers
Wanting for a wearable printed Mandalorian helmet but only have a small 3D printer? Don’t need to worry about the model size. We will show you how to print a full-size Mandalorian helmet with your desktop printer and we will provide you an excellent Mandalorian helmet 3D print file to download.
Mandalorian helmet 3D print files
Thanks to the huge number of fans, you can easily find free 3d printer models on websites like Thingiverse or MyMiniFactory. Some of the models are just the original helmet, while the others may allow you to print more details and accessories. The model we recommend here is a wearable helmet that shows the iconic dent of Boba Fett, and the range finder stalk is rotatable.
Boba Fett/Mandalorian Helmet Replica 1:1
3D File Designer: ChrisThePropGuy
Free 3D model download on Thingiverse: 4056779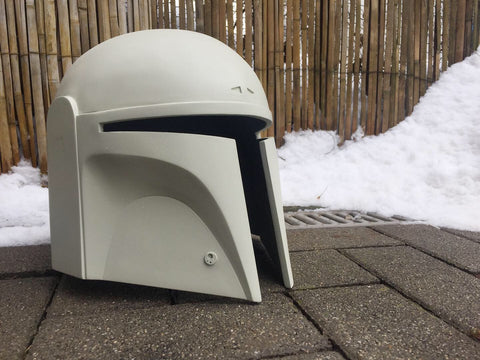
Review HONESTO da impressora 3D ANET ET5 PRO imprimindo O Mandaloriano.
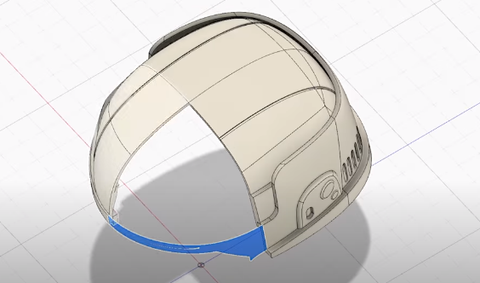
Split the helmet 3D model
If you want to print a full-size helmet with a small printer, you need to split the 3D model. Use the slicing software, such as Slic3r to split the model into multiple parts so that you can print the piece separately and assemble it. It's not a big deal that how to split the model. Just make sure it’s small enough for your printer to print.
Assemble pieces into a Mandalorian helmet
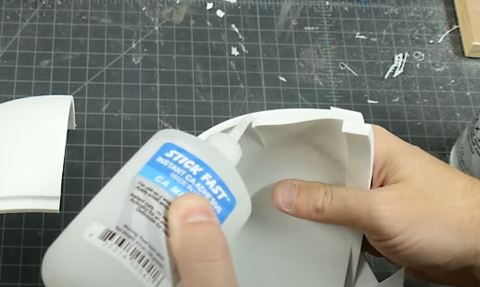
After hours’ even days’ printing, now you have a jumble of disjointed parts. You have a few ways to assemble them. First, you can simply use CA glue. It’s a common way to glue plastic. It’s not the best way because super glue is brittle and easy to crack. 3D Gloop is another way that chemically bonds the plastic together. But 3D Gloop only works on PLA, PETG and other specific plastic. For others plastic materials, you can use 5-minute epoxy.
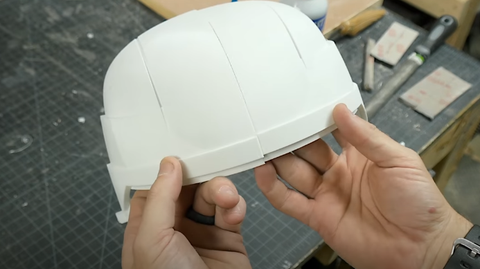
And don’t forget to make sure you have flattened the edges that you are going to glue. The flatter the edges, the better the seams are going to look.
After hours’ even days’ printing, now you have a jumble of disjointed parts. You have a few ways to assemble them. First, you can simply use CA glue. It’s a common way to glue plastic. It’s not the best way because super glue is brittle and easy to crack. 3D Gloop is another way that chemically bonds the plastic together. But 3D Gloop only works on PLA, PETG and other specific plastic. For others plastic materials, you can use 5-minute epoxy.
And don’t forget to make sure you have flattened the edges that you are going to glue. The flatter the edges, the better the seams are going to look.
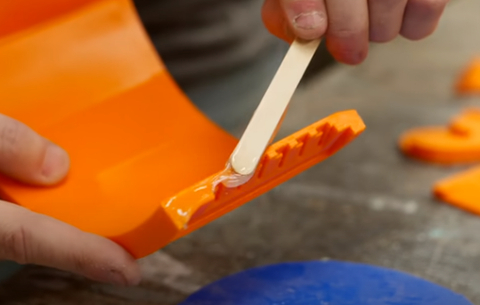
Sanding the seams for a smooth surface
Though you have done the assembly carefully, there still are some of the seams and joints not match up perfectly. You can fill the gaps with Bondo, and sand it down flush.
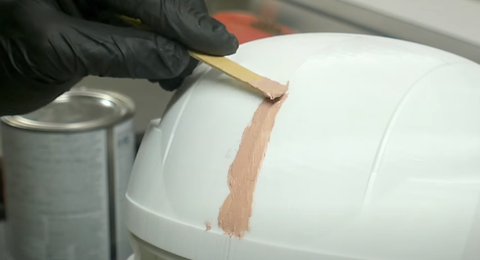
And the layer lines on the overall surface of the helmet, you can use the same way to flatten it. Cover the helmet with a thin layer of Bondo, and sand with a sanding sponge or sandpaper. Both of them can do a pretty good job of sanding the curve and the details.
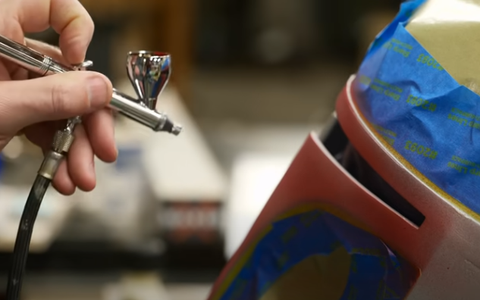
Prime and paint on your Mandalorian helmet
After finishing all the sanding, your helmet is ready for prime and paint. You paint it with classic colors or customize your own helmet with your favorite colors. An airbrush and masking tape are perfect tools to help get an even color in tight spaces.
You can get the every color details exactly the same as the helmet in the film on the forum of the Dented Helmet, shared by Rafal Fett.
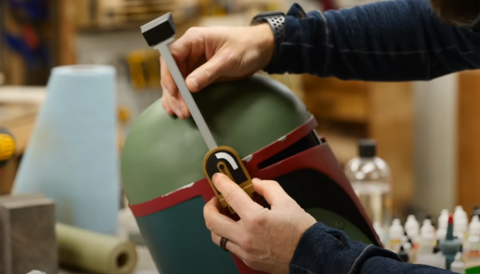
Range finder of Boba Fett
The 3D model we commended above including a range finder. Don’t forget to print it out and glue it on the side of your helmet. Remember don’t use an activator, because it will mess up the painting when used on the painted surface.
Now you get both the Mandalorian helmet 3D print file and the way to print it on your 3D printer. Go ahead to make yours!
Leave a comment