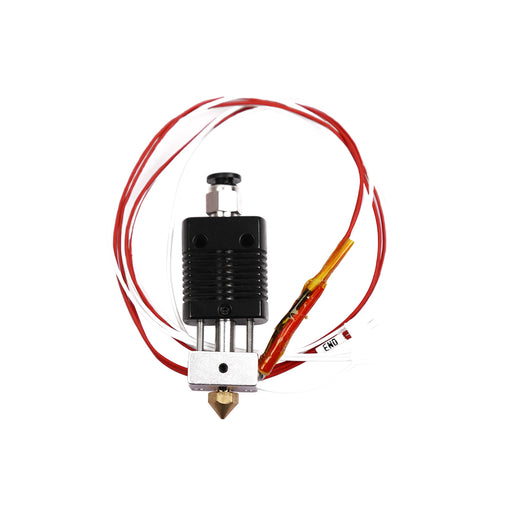
Anet Auto Leveling Position Sensor for Anet A8 3D Printer

Save $3.00
Original Price $15.00
Current Price $12.00

This auto-leveling device suits for Auto-leveling Anet A8. Pretty solution for auto-adjusting heatbed level of Anet A8. Other 3D printers are not 100% compatible with. Need your own control parameters, and to confirm whether the machine has automatic leveling function. This product is not 100% compatible with other brands of 3D printers. Comes with a mounting plate & screws, pre-soldered connector. Anti-jamming three-wire, 140cm / 55.1in cable. 10-30V DC working voltage, output NPN.NO.

Overview:
1. 3d printer waterproof anti-jamming DC three-wire npn often open square inductive metal sensor proximity switch sensor 10-30v.
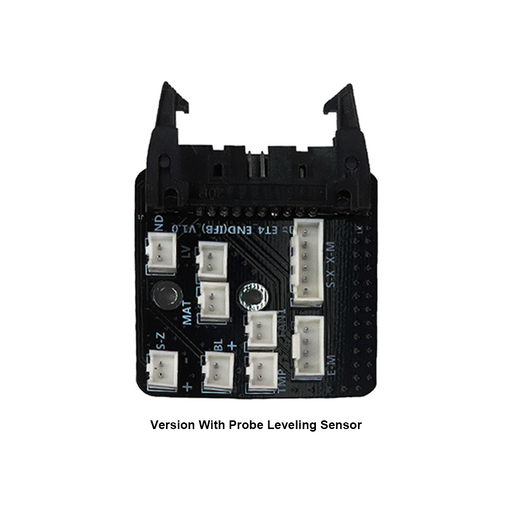
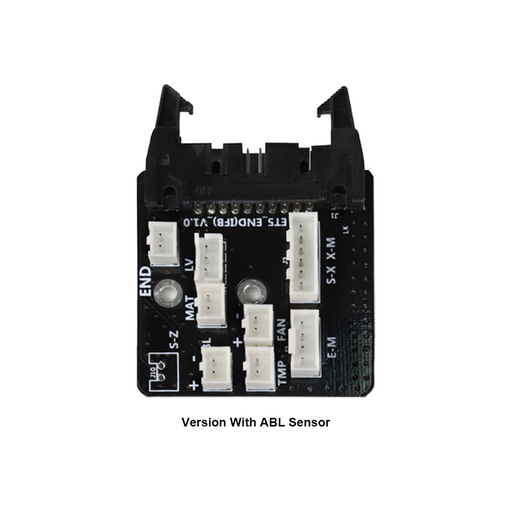
2. This is an auto-level sensor for the Anet A8 or other Prusa i3 Models.
3. Easy installation, just unplugs the original z stop and plug-in sensor and screw into the back of the printer.
4. Need to flash official firmware to make this function.
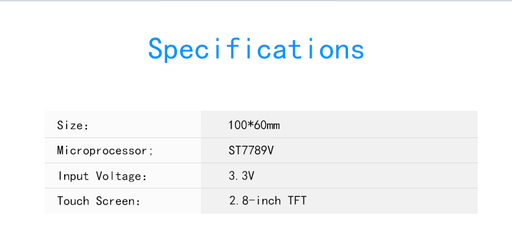
Specifications:
Suits for: Auto-leveling Anet A8 3D printer
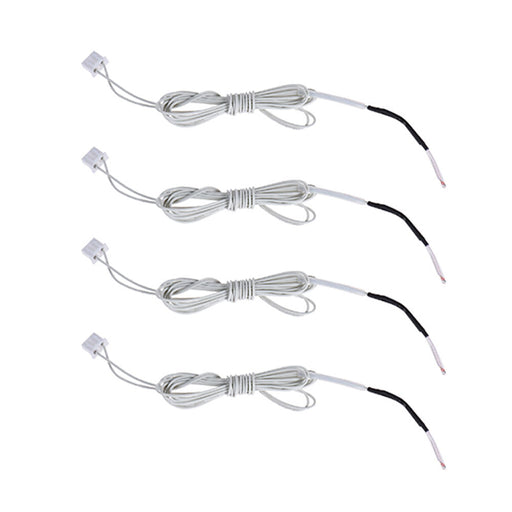
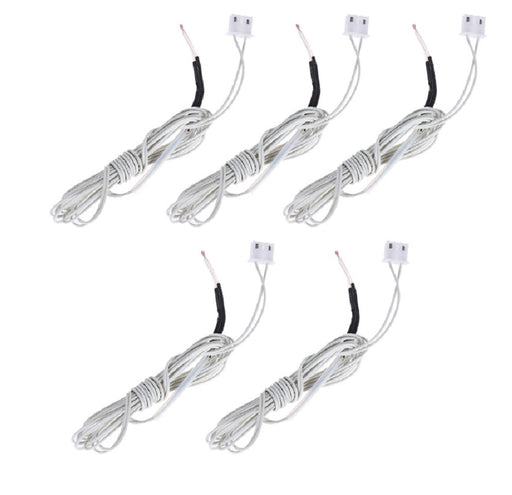
Wire Type: DC 3 Wire Type(Brown, Black, Blue)
Working Voltage : DC 10-30VDC or less
Sensor Size: 1.8 * 1.8 * 3.6cm / 0.7 * 0.7 * 1.4in(W*H*L)
Cable Length: 145cm / 57in
Output mode: NPN three-line normally open
Output current: 300 mA (mA)

Package includes:
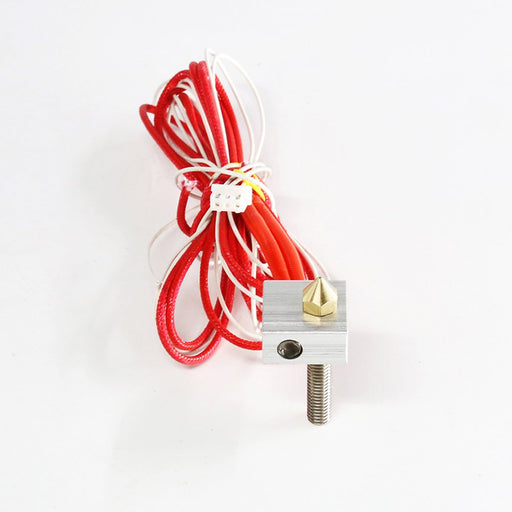
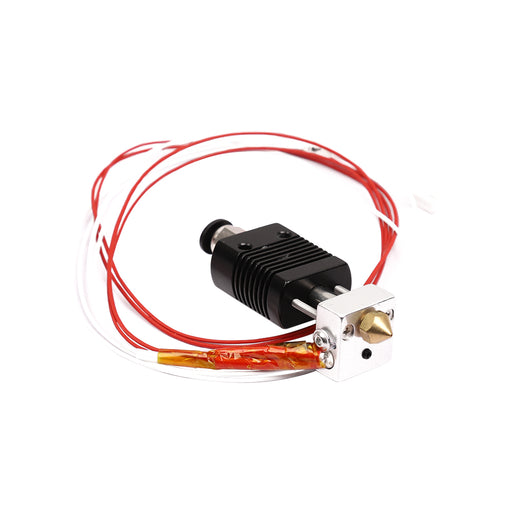
1 * Proximity Sensor
1 * Plate
2 * Screw
Package Dimensions : 4 x 2.9 x 1.2 inches; 2.4 Ounces

Anet A8 Auto Leveling Sensor Installation Guide

First , remove Z limited swich, pull wire from the mainboard.
1.First,we need a set of probes (Including Acrylic part, probes parts ,M3*30 screw), screwdriver, allen wrench and A4 paper.

2.Pick out probes, loose probes height adjusting screw. Next, pull probes to the limit distance and lock screw.
Then install probes to the back of extruder. Use M3*30 screw to lock probes part on the board.
Link probe wire to S_ Z port on the mainboard (Port of Z limited switch ).

3.Operate on screen,enter “Custom Leveing start”.
Pull out probe wire on the mainboard.
Loose probes height adjusting screw,pull probes to the top and lock screw .
Find “PositionZ position Z position+/-”on the screen.
Put A4 paper on the hotbed and adjust extruder to make nozzle press on A4 paper.
Put Acrylic part beneath nozzle, loose probes height adjusing screw, pull down probes to press on Acrylic part and lock screw.
Link probe wire to S_ Z port on the mainboard.

4.Operate on screen,enter “Custom Leveing start”.
Put A4 paper on hotbed,Choose “Adjust” operate“+/-” to make extruder move .
Stop Operating when A4 paper can' t move. Choose "Next", wait extruder to home itself.
Adjust screw to regulate the gap beween nozzle and hotbed.
When you can feel some resistance pulling A4 paper, the gap is good.
Then choose Next again, adjust the rest 3 corners of hotbed to the same level.