How to Install and Properly Tension X-axis and Y-axis Belts on ET4 or ET5 3D Printer
The X-axis and Y-axis belts are probably important elements for 3D printing. They ensure stable and reliable movement transmission from motors to extruder kit and hotbed on a 3D printer. How to install and properly tension belts becomes quite crucial for daily 3D printing. Let’s go through below paragraphs and learn about belt installation and tension on Anet ET4 and ET5 series 3D printers.
Where are the X-axis & Y-axis belts?
The X-axis belt is installed on the X-axis which moves along the gantry and the Y-axis belt is installed on the Y-axis track underneath the hotbed.

X-axis belt on Anet ET4X 3D printer
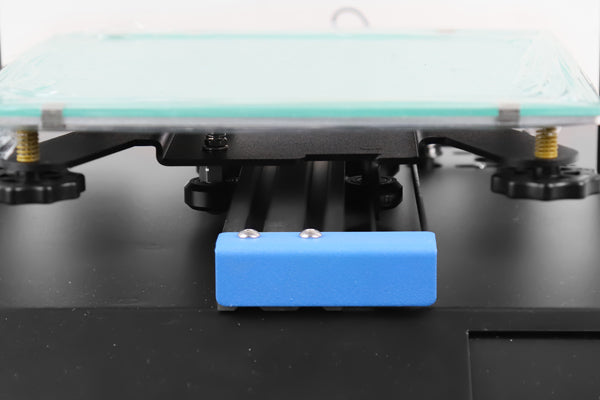
Pre-installed Y-axis belt underneath hotbed
The X-axis and Y-axis belts are driven by stepper motors and cooperate to perform 3D printing out in precise movement of extruder kit and the hotbed. Thus we need to install and tension them properly to avoid any inaccurate movement.
How to install and tension X-axis belt?
Step 1
Put the belt onto the X-axis rail with its gear side inward as below picture shows.

Step 2
Insert the belt through the track underneath the two top pulleys of the extruder kit.

Step 3
Loosen the X-axis motor a little bit by loosening the four fixing screws.

Step 4
Circle the belt around onto the idler pulley and the motor gear.
Step 5
Insert the two ends of the belt into the slots at the bottom of the extruder kit and keep the metal clasps as close as possible to the slots.


Tips: if it’s difficult to insert metal clasps into the slots, slowly push the X-axis motor inward.
Step 6
Pull the X-axis control motor outward until the belt is completely tightened.

Step 7
Secure the four screws to fix the X-axis belt.

How to tension Y-axis belt?
The preinstalled Y-axis belt is also tightened by its driving motor inside the operation base. So to tension it well, we need to adjust the motor position.
When the Y-axis belt is loose mounted, let’s go below steps to tension it.
Step 1
Loosen the four fixing screws.

Step 2
Push the motor sideward until the belt is tight and tighten the screws to secure the motor and the belt.

What problems may happen when X-axis or Y-axis belt is improperly installed?
Improper installed X-axis or Y-axis belt often includes misaligned belt and incorrect belt tensions.
Misaligned belt can cause the belt rubbing against the track it moves along or the metal pulleys it circles around. The belt will wear over time and the misalign movement of X-axis or Y-axis will result in misalign print in X-axis or Y-axis.
Incorrect X-axis or Y-axis belt tension will cause misaligned print layers, leaning or lopsided print and even holes or misprinted segment in your prints.
How can we adjust X-axis or Y-axis belt tension on your Anet 3D printer?
As we mentioned in previous paragraphs, to adjust the X-axis or Y-axis belt tension well on Anet ET4 or ET5 3D printer, we can loosen the motor fixing screws and move the motor inward (too tight belt tension) or outward (too loose belt tension) slowly until we can feel a little tight resilience when we press the belt with finger. Then we can secure the screws to fix the X-axis belt or the Y-axis belt.
Actually the X-axis or Y –axis belt is not alone component and the belt tension can be also affected by the parts where the belt is mounted on. So before adjusting belt tension, we should check the related components if they’re correctly installed.
Leave a comment