How to Use Multi-meter to Check Hotbed Heat-up Issues
Multi-meter is a common appliance to measure parameters out from electronic components and equipment. It helps us to detect malfunctions on electronics and solve the problem accordingly.
Today we’ll use a multimeter to do some measurements on Anet 3D printer to solve hotbed heat-up issues.
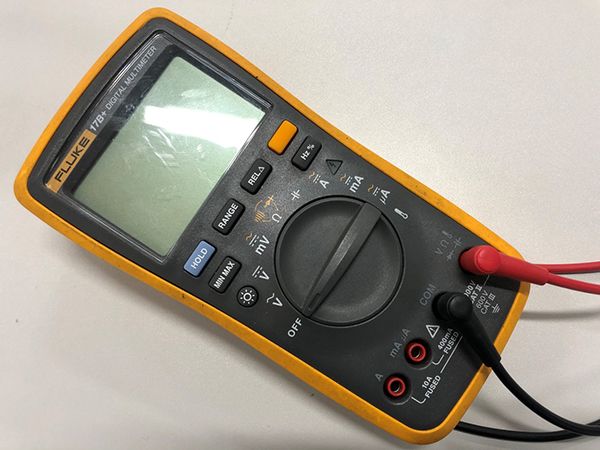
FLUKE Multimeter
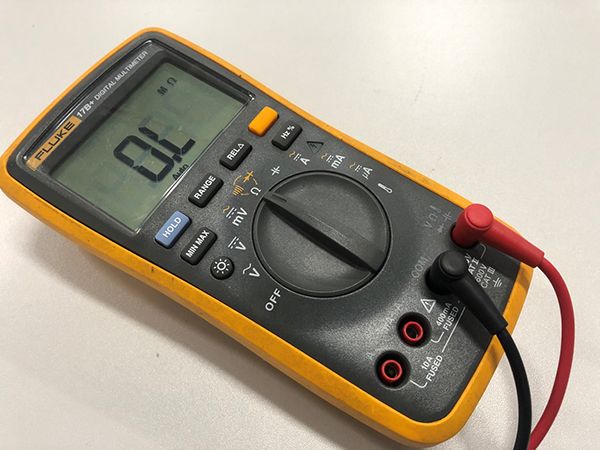
I – Usage of a Multimeter
Generally speaking, a multimeter can detect the voltage, resistance and current parameters of electronic components. There are two types of voltage measurements on a multimeter, DC and AC. Pay attention to that and avoid using the wrong voltage measuring option.
Ω (Resistance) measurement on a multimeter
We can see AC/DC or ~/⎓ on a multimeter. They stand for alternating current and direct current. If you’re unable to distinguish functions on a multimeter, please read its manual for guidance.
II – Use Multi-meter to Check Hotbed Issue
When using Anet 3D printer, it’s possible the nozzle or the hotbed encounters heat-up problems. If no loose wiring or hot bed terminals, unstable installation of components or obvious signs of damage are found, we need to use a multimeter to measure the related components for important values including the motherboard power supply voltage, hot bed voltage and resistance, hotbed thermistor wire resistance, cartridge heater and thermistor resistance to decide the actual causes of the problem. In this article, we’ll introduce how to use a multimeter to troubleshoot the hotbed heat-up problems.
1. Make sure if the thermistor wire works properly
After select “Preheat” and set hotbed heat up on the LCD screen (or control panel), we can observe the current hotbed temperature (the previous temperature value of the hotbed). If it’s the same as the ambient temperature (20 to 30 ℃), the thermistor wire works properly. To further assure it, we can use a hair dryer to heat up the hotbed. If the value of current hotbed temperature increases accordingly, the thermistor wire works properly. If not, replace with a new one and go to the next procedure.
2. Measure hotbed voltage, resistance and thermistor resistance
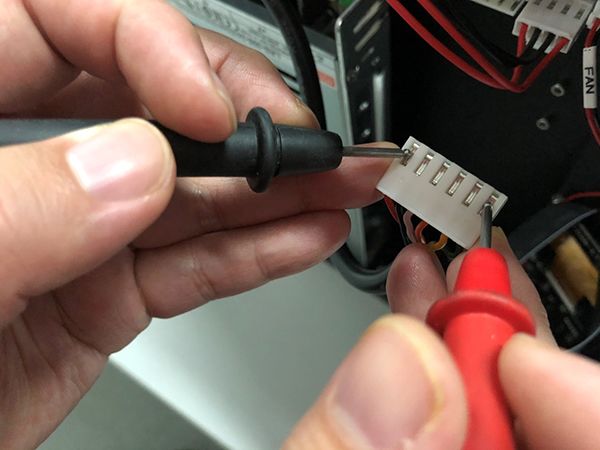
2.1- power off the printer, and turn the multimeter switch to the Ohm (Ω) position. Connect the probes of the multimeter onto the side pins (as below picture shows) of the hotbed heat-up wirings.
Hotbed resistances for different Anet 3D printers:
ET4 3.3Ω / A8 Plus 2.8Ω / A8 1.2Ω
2.3- Power on the printer and connect the probes of the multimeter to the two middle pins of the hotbed heat-up wiring (see above picture); if the multimeter reads between 70 and 100KΩ for the thermistor, the thermistor works properly; if the value is far away from that, then the thermistor works improperly and we have to change the hotbed with a new one because the thermistor is pre-installed onto the hotbed.
2.4- Heat up the hotbed and turn the multimeter switch to DC Voltage position; If it reads a 24V or near, the hotbed has a proper voltage; if not, replace the hotbed with a new one.
That’s all the procedures that how to use a multimeter to measure out the voltage and resistance values on hotbed heat-up related electronics to check out the causes of hotbed heat-up issues on Anet 3D printers and decide the solutions accordingly. Hope you’ll learn and enjoy printing with Anet 3D printer!
Leave a comment