Multimeter Measurement Guidance for Anet 3D Printer
Sometimes we just need a multimeter to measure out the precise values of voltages or resistances on some electronic components of Anet 3D printer. These values will help us find out the real reasons why the printer doesn’t work well.
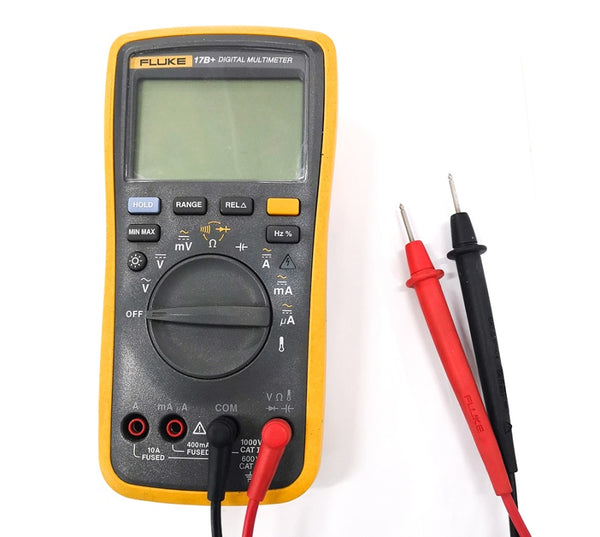
FLUKE 17B+ Digital Multimeter
Here we’ll use the FLUKE 17B+ digital multimeter to example the usage and learn to measure out necessary values on Anet 3D printer for daily troubleshooting.
What does a multimeter do?
A multimeter can measure out a lot of different values including working voltage, current, capacitance, resistance and temperature. These results directly reflect the current working state of the components, providing a criterion for analyzing the problems of electronic equipment.
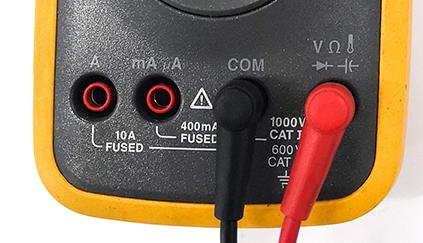
Multimeter cable probe connection
Probe cable connection:
1. Black lead should be plugged into the COM port.
2. Read lead can be insert into the three red ports including the Amp, the mA/μA and the voltage/Ω/capacitance/temp/diode port.
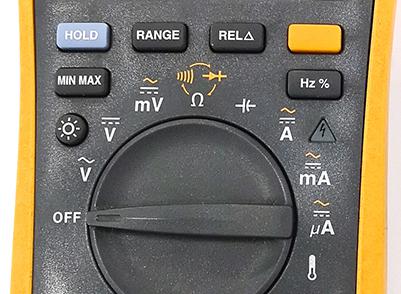
Multimeter measures different values for electronic components
Functions:
We can see in above picture, the multimeter can be switched to measure voltage, resistance, capacitance, current and temperature values.
Usually we need only to measure the DC voltage, AC voltage and resistance values on Anet 3D printer to check if any malfunction happens.
How to do the measurement?
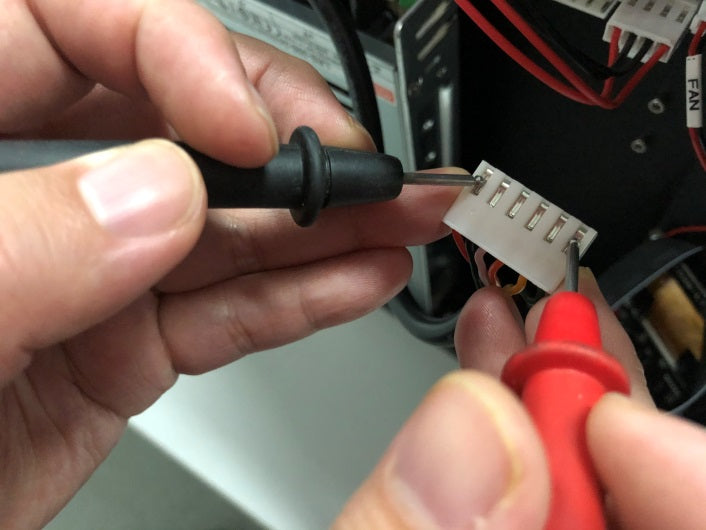
To measure components on Anet 3D printer, we should switch the multimeter to the right position first and then connect the two multimeter probes onto the metal pins or metal parts of the connectors.
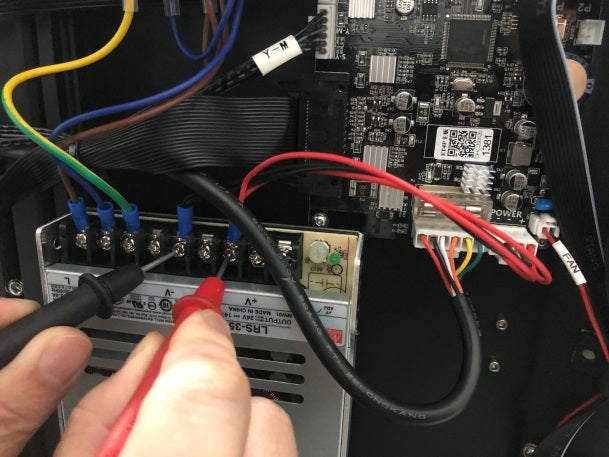
Probes connected to the V+ and V- of the power convertor to measure output voltage.
Probes connected to the hot bed wiring port side pins to measure voltage or resistance for the hot bed.
Tips:
1. We can distinguish the DC voltage measurement from AC voltage measurement by the icons. The one with a “~” is AC voltage measurement, and the other is DC voltage measurement.
2. To test voltage, we must power on the printer first.
Multimeter Measurement Table for Anet 3D Printers
Power convertor:
Input voltage: AC 220V; Probe connection: L & N connectors
Output voltage: DC 24V; Probe connection: V+ & V- connectors
Hotbed:
Voltage: 24V
Resistance: ET4 series 3.3Ω / ET5 series 2.06Ω / A8 1.2Ω / A8 Plus 2.8Ω
Probe connection: mainboard “BED” side pins
Thermistor resistance: 70K-100KΩ
Probe connection: mainboard “BED” middle pins
Nozzle assembly:
1. Cartridge heater: 24V / 14.4Ω; Probe connection: END pins
2. Thermistor: 70K-100KΩ; Probe connection: TMP pins
Above are the measurements we can make with a multimeter if malfunctions are found on an Anet 3D printer. Want to know details of performing these measurements, please click on below links and read our related articles for multimeter troubleshooting guidance:
How to Use Multi-meter to Check Hotbed Heat-up Issues?
How to Use Multimeter to Solve Nozzle Heat-up Issues on Anet 3D Printer?
Comments
Leave a comment