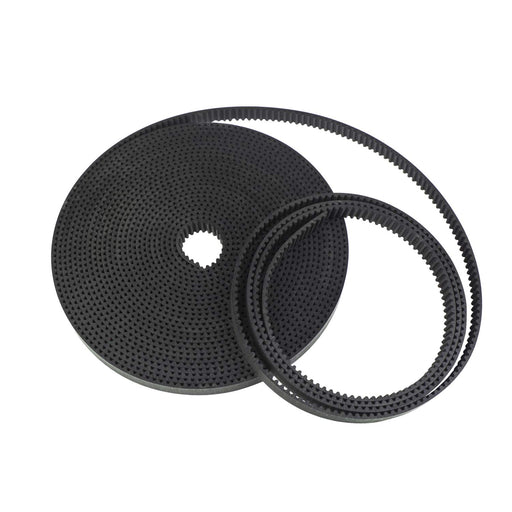
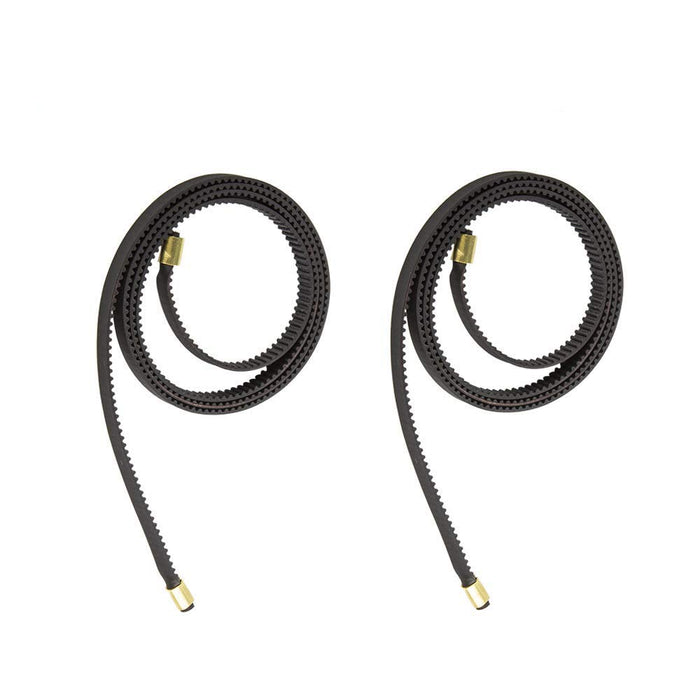
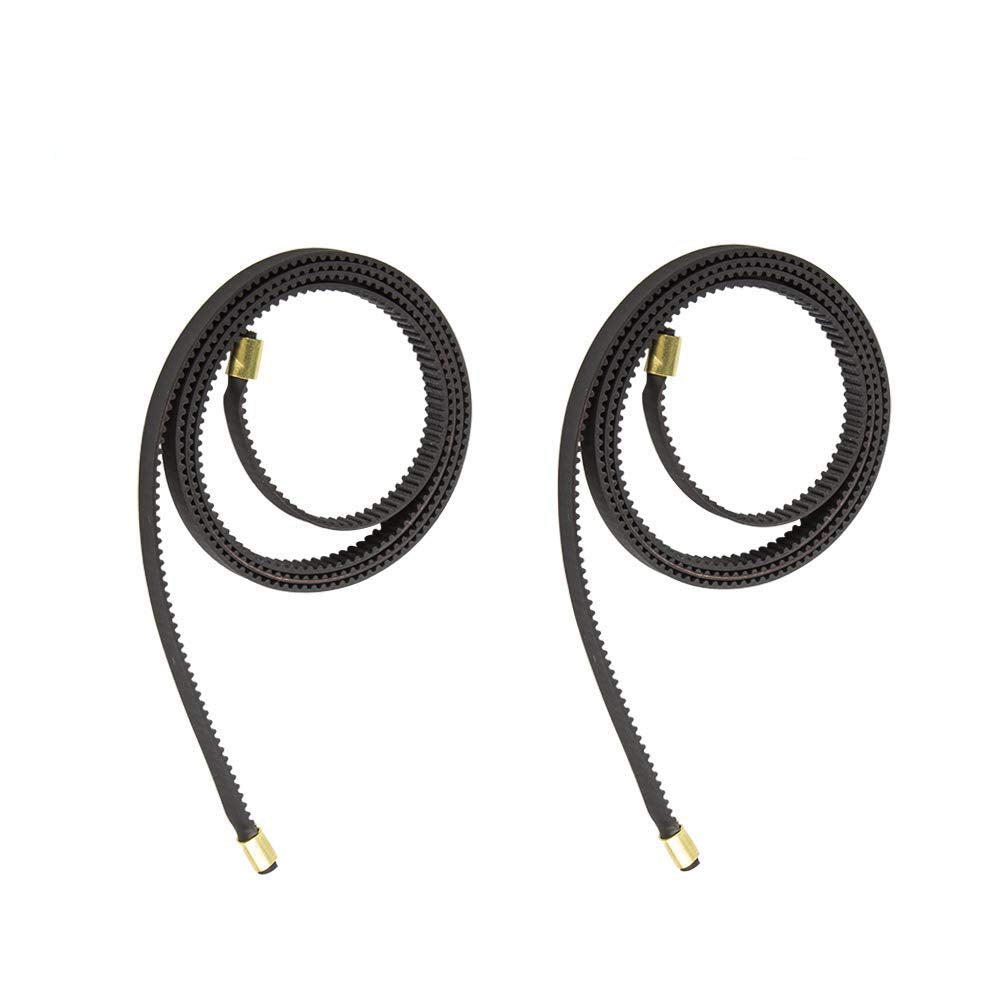
2PCS 3D Printer Belt for ET4 / ET5

Save $3.00
Original Price $12.00
Current Price $9.00
Size

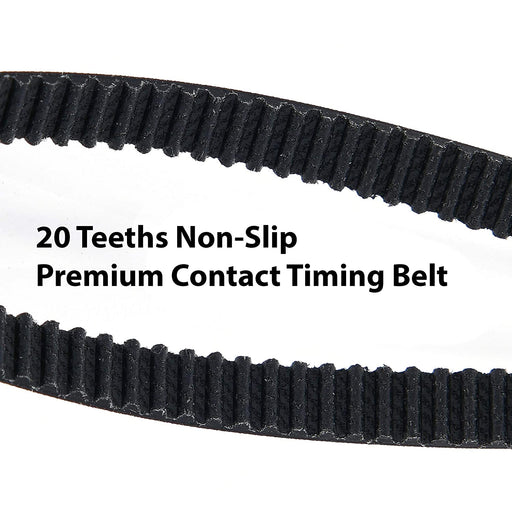
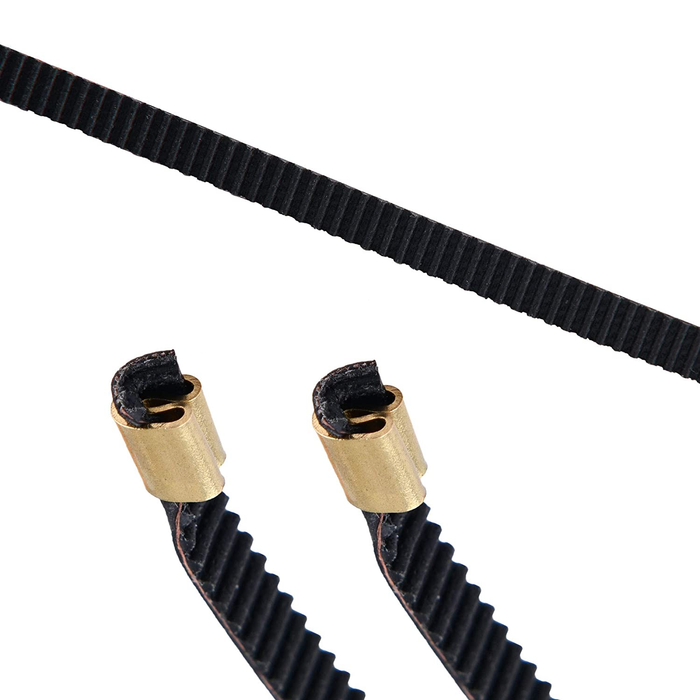
X-axis or Y-axis timing belts for ET4 and ET5 with pressed copper buckles at the belt end.  (2PCS Pack)

Compatible with 3D printers: Anet ET4, ET4X, ET4 Pro, ET5, Anet ET5X, ET5 Pro.

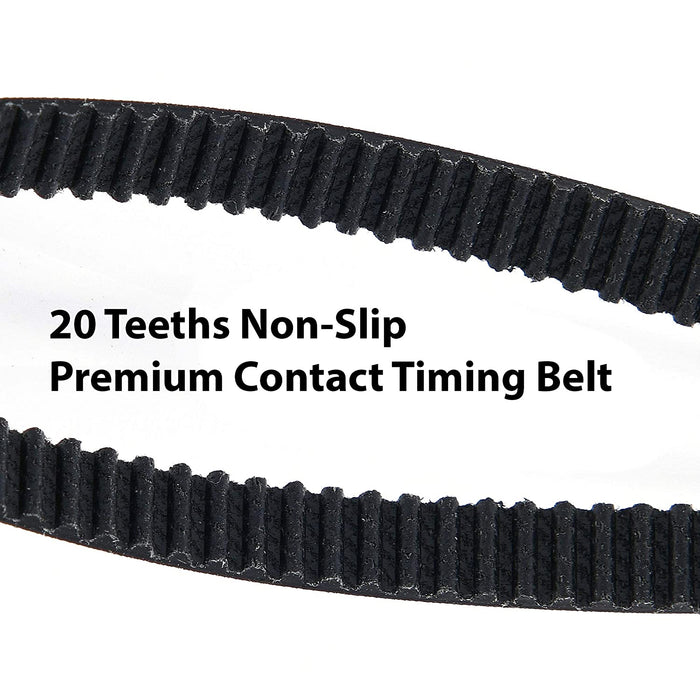
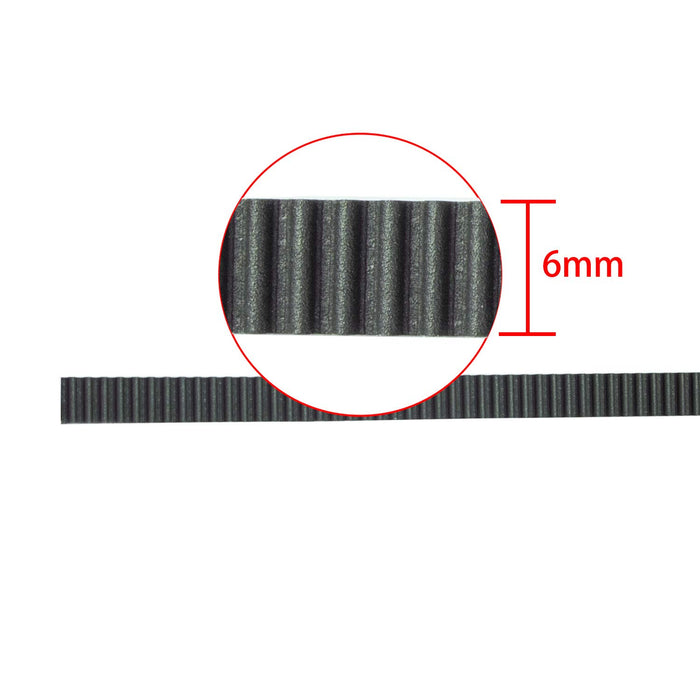
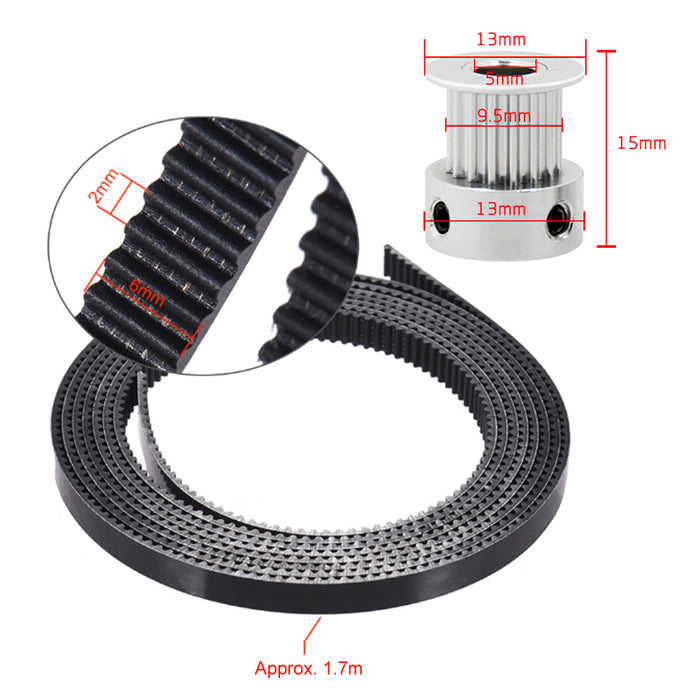
Belt Specifications:

  • Belt width: 6 mm
  • Pitch: 2 mm
  • ET4 X-axis belt length: 799mm
  • ET4 Y-axis belt length: 789mm
  • ET5 X-axis belt length: 970mm
  • ET5 Y-axis belt length: 970mm
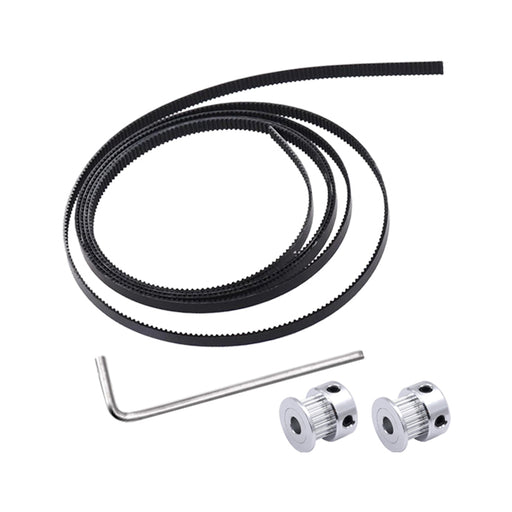
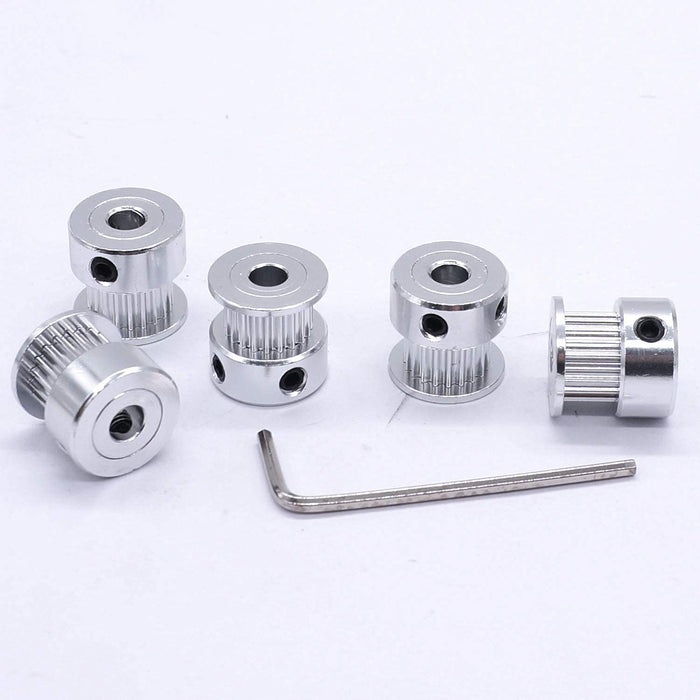
Package Includes:

3D printer belt * 2PCS

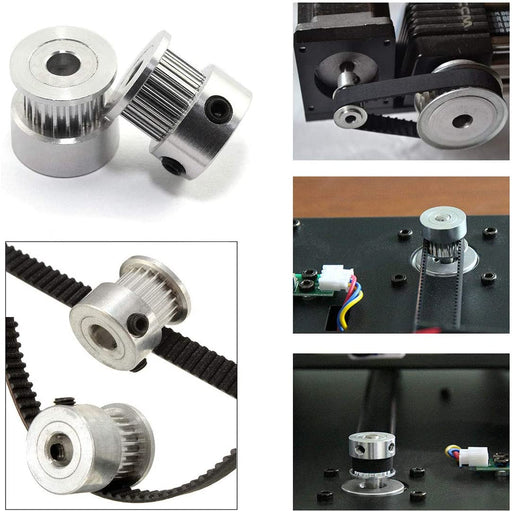
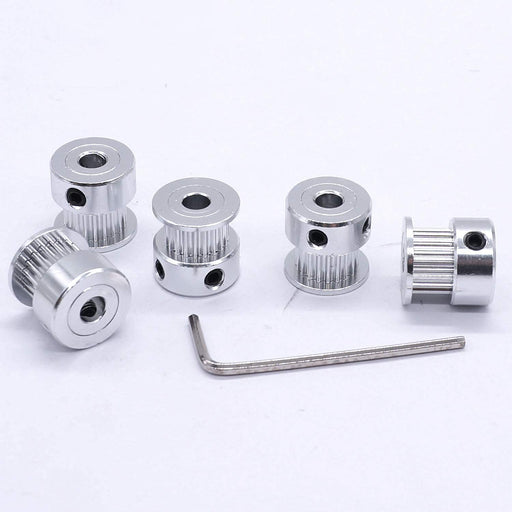
20 teeth timing belt pulley * 4PCS 

Allen wrench * 1PCS

Shipping from the Chinese warehouse.

The picture is for reference only. Please adhere to the original products in case of any mistake.

How to Change 3D Printer X-axis & Y-axis Belts

Replace Y-axis Belt on a 3D Printer

 1.  Loosen the Y-axis motor screws with 2.5mm L wrench
 2.  Move the motor inward to loosen the belt
 3.  Pull metal end of the belt out from the slot
 4.  Pull out the other end of the belt
 5.  Take out the belt
 6.  Insert the new belt from the front idler pulley
 7.  Put the metal end into the slot
 8. Circle the belt around the drive gear
 9. Circle the belt around the rear idler pulley
10. Put the other metal end of the belt into the slot
11. Pull the motor outward to fully tighten the belt
12. Tighten the motor mounting screws


Replace X-axis Belt on a 3D Printer

1. Loosen X-axis motor screws
2. Push the motor inward to loosen the belt
3. Push out the metal ends of the belt
4. Take out the X-axis belt
5. Insert the new belt through underneath the pulley wheel.
6. Circle it around the idler pulley
7. Buckle the metal ends into the slots.
8. Pull the motor outward to tighten the belt and secure the mounting screws.
9. Move the print head to check the smoothness and stability.
10. Power on the printer and input X-axis and Y-axis movement command to check smoothness and stability.