Step-by-step Tutorial of Manual Bed Leveling for A8 Plus 3D Printer
There are many factors that affect if a 3d printing is good or not, for example print settings like printing speed, temperatures or layer thickness. Among them, bed leveling is a crucial one. It’s the foundation of a good 3D printed model. In this article, we’ll get to know basic knowledge of bed leveling and learn step-by-step tutorial of manual bed leveling for Anet A8 Plus 3D printer, which is also a good reference for any other type of desktop FDM 3D printer.
What is a well leveled 3D printer?
A well leveled 3D printer includes two elements. First, the hotbed is leveled evenly; second, there is appropriate gap between the hotbed and the nozzle for the first layer to deposit.
And gap here means only when the nozzle (extruder kit) is at its home position, the height discrepancy between the nozzle and the hotbed. Usually this gap allows us to place in an A4 paper.
A well leveled 3D printer extrudes filament evenly and prints the best first layer.
What can a not well leveled hotbed result in 3D printing?
A not well leveled hotbed usually results in below problems in a 3D printing task.
- The first layer cannot evenly deposit, for example some parts squeeze but other parts don’t stick to the hotbed.
- Too close gap may block the nozzle sometimes.
- Severe problems may happen, for example, the nozzle hits the hotbed.

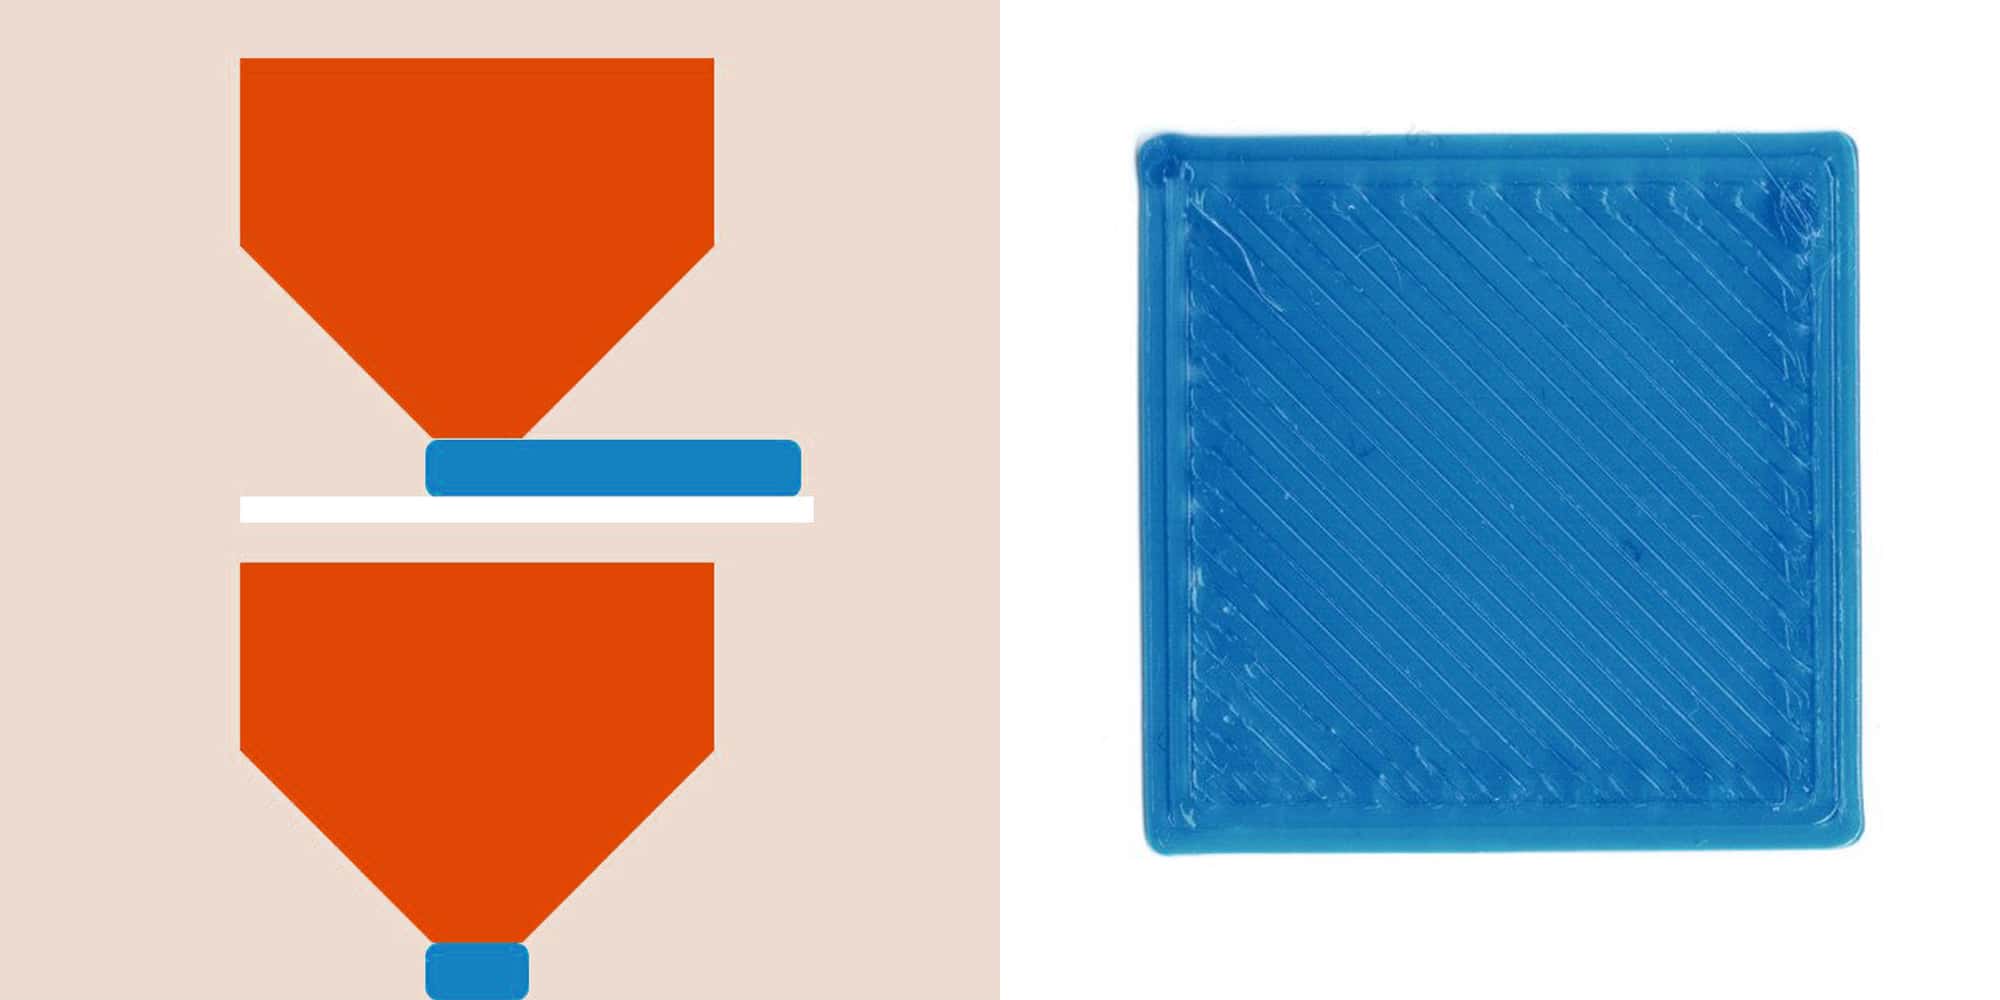
Huge gap between the nozzle and the hotbed leads to poor layer adhesion.
In brief, a not well leveled hotbed fails your print or even damages parts of your 3D printer.
Basic principles for manual bed leveling of your 3D printer
In a desktop FDM 3D printer, such as the Anet A8 Plus, ET4, or ET5, there are four adjusting knobs (or nuts) underneath the four corners of the hotbed.
As we mentioned in previous paragraph, the basic principles for manual bed leveling is to home the extruder kit first and then adjust hotbed height at its four corners to make the hotbed even and get an appropriate gap between the nozzle and the hotbed.
Things to do before manual leveling
Before going to manual leveling, there are several things we should do or consider.
- Remove filament residues or grimes from the hotbed and the nozzle.
- If you’re always printing a same material (such as PLA filament), it’s considerable to preheat the nozzle and hotbed before manual leveling.
Ordinal four point manual bed leveling

Anet A8 Plus is a typical desktop FDM 3D printer without a touch sensor or a capacitive sensor. Now we’ll take it as an example and learn the procedure of four point ordinal leveling a hotbed step by step under the guidance of HL ModTech.
Step 1 Auto Home Extruder
First, home the extruder kit. Power on the printer and select “Prepare”, and then click on “Auto home”; the extruder kit automatically moves to its home position.

Step 2 Manual Leveling from 1 Point
Move the extruder kit to the first point, the front left corner of the hotbed.
How to:
Select "Prepare" and then “Move axis” and click on “Move Y” or “Move X” and select the right unit (10mm, 1mm or 0.1mm); turn the knob button to move the extruder kit over the front left corner of the hotbed.

Tips: this will be the first position that we level the printer bed and adjust appropriate gap between the bed and the nozzle.
Step 3
Adjust the hotbed height at this position to acquire appropriate gap between the nozzle and the bed.

How to:
Place an A4 paper in between the nozzle and the bed and then slide it.
If it’s too tight to slide the paper, turn the knob underneath the bed clockwise to lower the bed slowly until the paper can slide with a little tight friction; if the paper slides too loose, turn the knob anti-clockwise to rise the bed slowly until the paper can slide with a little tight friction between the nozzle and the hotbed.
Step 4
Move the extruder kit to the front right corner of the hotbed and adjust hotbed height for the second position.

How to:
Select “Move X” and turn the knob button to move the extruder kit to front corner of the bed and then adjust the bed height according to step 3.
Step 5
Move the hotbed until its back right corner is underneath the nozzle and adjust hotbed height at the third position.

How to:
Press down the knob button again and then select “Move Y” to slide the printer bed until its right back corner is underneath the nozzle; then adjust the hotbed height according to step 3.
Step 6
Move the extruder kit to the back left corner of the hotbed and adjust hotbed height at the fourth position.

How to:
Press down the knob button again and then select “Move X” to move extruder kit until it’s over the left back corner of the print bed; adjust bed height according to step 3.
Now we get all four corners of the hotbed adjusted to the same heights and gaps to the nozzle.
Diagonal Manual Bed Leveling Method
Comparing to the above described ordinal manual leveling, we strongly suggest using the diagonal method.

In ordinal leveling, we sequentially adjust the 1st, 2nd, 3rd and 4th corner of the hotbed; but in diagonal method, we adjust diagonal corners, and the sequence is the 1st, then the 3rd, the 2nd and then the 4th.
Diagonal method compensates for the other two diagonal corners while adjusting. It brings more accuracy and reliability for manual leveling.
Twice do the manual leveling
Another way to improve accuracy is to do all manual leveling procedures twice.
As manual leveling is still a kind of sensing the friction of sliding a paper between the nozzle and the hotbed, go twice adjust the four corners of hotbed will further enhance the result.
Do test prints to check leveling result
After ordinal or diagonal manual leveling and twice manual leveling complete, we can do some print tests before making 3D printing parts, accessories or models.

Test print for 3D printer bed leveling
Try printing these things on thingiverse.com and check your manual leveling result.
- https://www.thingiverse.com/thing:34558
- https://www.thingiverse.com/thing:2987803
- https://www.thingiverse.com/thing:2187071
Referral link to understand bed leveling
Click on below hyper link to learn more about bed leveling with Billie Ruben’s guidance.
Billie Rubben's Four Steps Bed Leveling Guide
This article helps you understand bed leveling better and know the importance of bed leveling for your daily 3D printing.
Leave a comment