How to Connect Anet 3D Printer to a PC via USB
By connecting Anet 3D printer to Mac or Windows computer via USB, we can do online printing and control printing process by using 3D printing slicer software via a computer. Comparing to offline 3D printing, online 3D printing offers us more convenience to control 3D printer by computer and upload new 3D printing tasks.
Today, we’ll show how to install driver for Mac or Windows computer and print through USB on our Anet ET4 3D printer.
I – Download driver Installation file on your computer
First let’s download driver installation file for online 3D printing for Mac or Windows computer.
File download link:
- Mac: http://www.wch-ic.com/downloads/CH341SER_MAC_ZIP.html
- Windows: http://www.wch-ic.com/downloads/CH341SER_EXE.html
II – Install online 3D printing driver for Mac computer
1. Right click on the downloaded file for Mac computer and unzip the file.
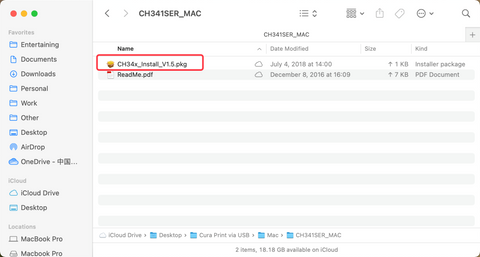
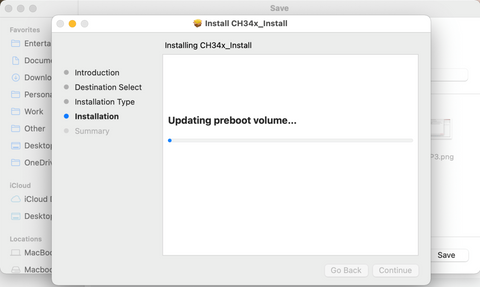
2. Open the unzipped folder and double click on the “pkg” file.
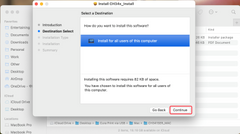
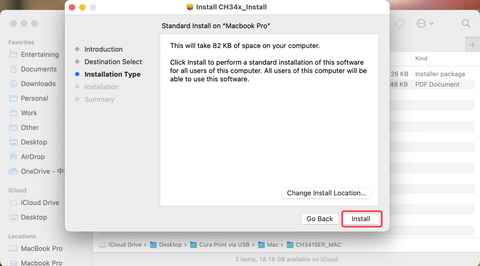
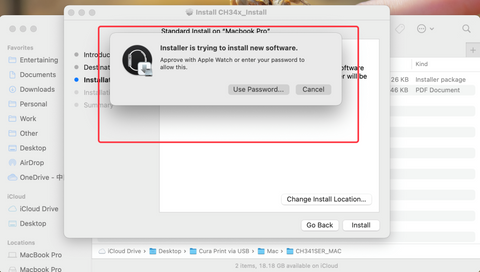
The computer starts to auto install the driver, click on “Continue” to proceed.


III – Install online 3D Printing driver for Windows computer
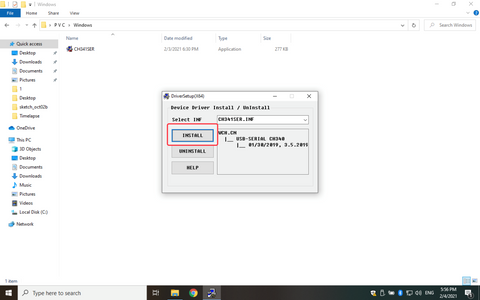
1. Right click on the download file and click on “Open” to start driver installation. Follow all the procedures until installation completes.
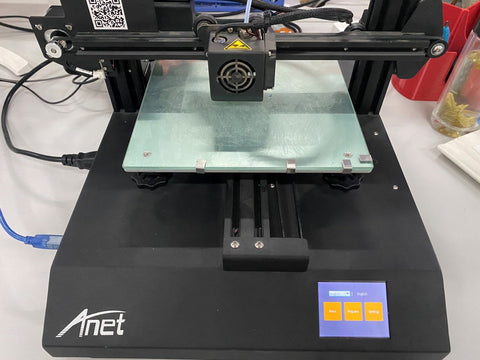
2. Power on the Anet 3D printer and connect it to the computer via USB.
6. Right click on “Computer” and select “Device Manager”, and then click on “Ports” to check if the CH340 port is already install as below picture shows.
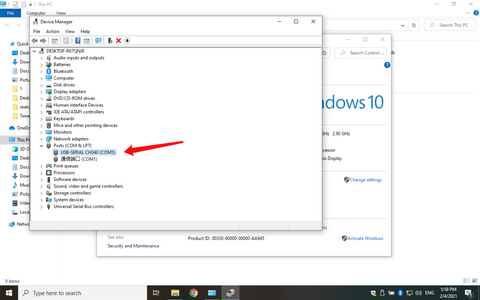
As we see, if the CH340 port can be found on this section, it means we’ve successfully installed the driver for the Windows computer; if not, reinstall the driver once more.
IV – Use Cura to do Online 3D Printing
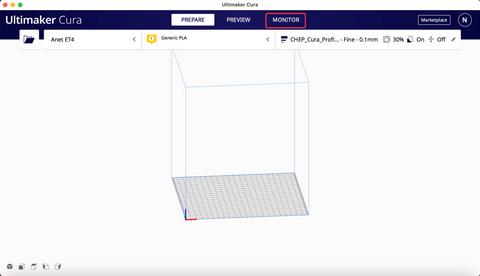
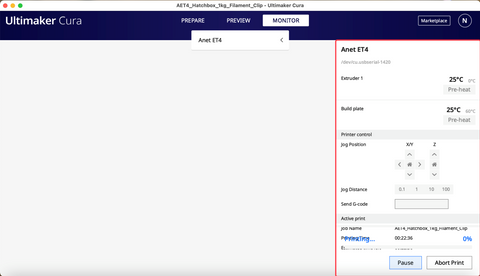
1. Open Cura and click on “Monitor” on the top.
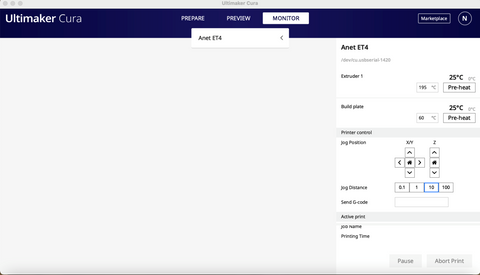
2. We can see Anet ET4 3D printer is successfully connected to Cura. In this section, we can click on the control buttons or adjust preheat settings to check if we can control the printer via Cura.
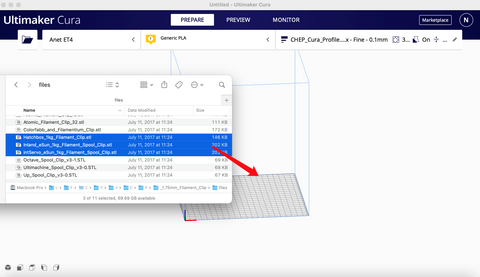
3. Click on “Prepare” to upload stl files to Cura. Tips: we can also upload G- code files here for online 3D printing.
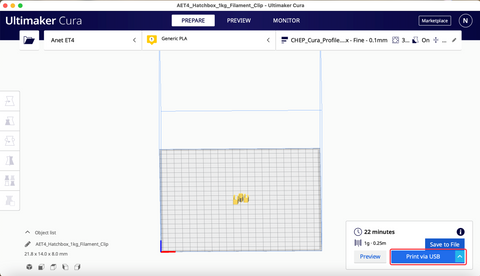
4. Set slicing parameters and then click on “Slice” to slice the stl files. Tips: for more detailed slicing parameters guidance for Anet 3D printer, please read below links and make the best slicing settings for your Anet ET4 3D printer.
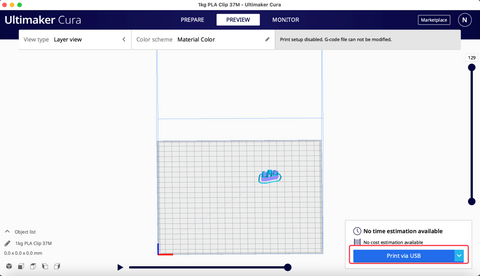
5. After slicing completes, click on “Print via USB” to start online 3D printing.
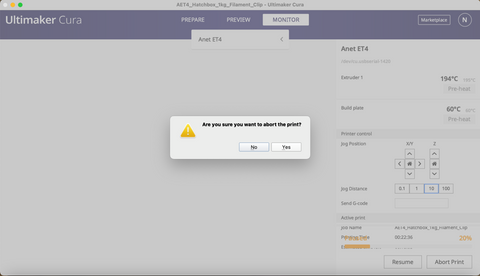
6. During online 3D printing process, we can click on “Pause” or “Abort Print” to pause or abort current printing tasks.
7. When click on “Abort Print”, we should click on “No” or “Yes” to cancel or confirm the abortion of online 3D printing.
8. Click on “Preview” to see current progress of the printing.
Well, that’s all the procedures for how to install drivers on Mac or Windows computer and use Cura to perform online 3D printing with Anet 3D printer. These methods can be applied on all types of Anet desktop FDM 3D printers and any other brand 3D printers. If you also want to do online 3D printing, give it a try!
Comments
Leave a comment