How to Set Octopi to Remote 3D Printing
3D printing a thing, sometimes consumes a lot of days. Leaving a 3D printer printing alone can waste filament because of unexpected printing error, or even lead to safety issues. Using Octopi to run remote 3D printing can be a good approach. Now, let’s learn how to set Octopi to fulfill remote 3D printing, real-time monitoring, time-lapse photography and auto power cut-off.
Items needed for Octopi 3D printing
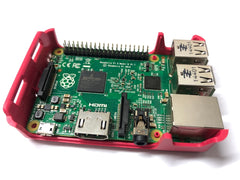
1. Raspberry PI
2nd generation Raspberry Pi or above is recommended to run this program. It’s better to use the 4th Raspberry PI for the best performance.
Note Raspberry Pi 2B has no WLAN card. If you want wireless connection, please purchase a WLAN card and Ralink 3070 is recommended.
2. SD card for writing in Octopi operation system, system file and print file storing.
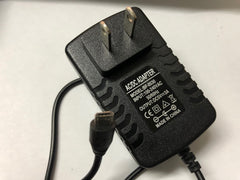
3. Power adapter for Raspberry Pi
2.5 – 3V power adapter is the best or exclusive adapter for Raspberry Pi is recommended.
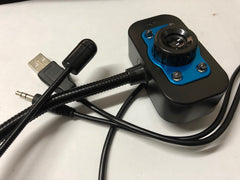
4. Logitech or Raspberry PI camera
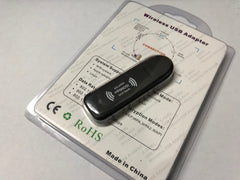
5. Ralink 3070 WLAN Card
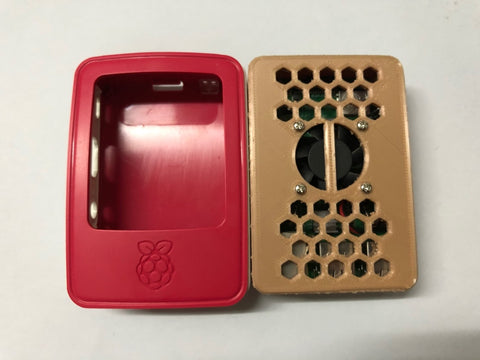
6. Raspberry Pi casing (optional)
You can buy from Raspberry or 3D print one. Here we recommend printing one with a fan connection port.
3D print stl file download: Thingiverse 2563067
Designer: JX003
7. USB to 3D Printer cable
8. Card Reader
Software Download Prepare for Octopi 3D Printing
1. Download the latest firmware from Octoprint official website: https://octoprint.org/download/.
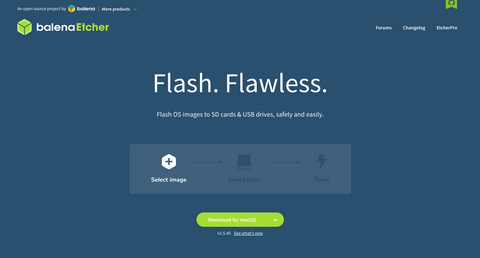
2. Visit https://www.balena.io/etcher/ and install Etcher (versions for Mac and Windows available )
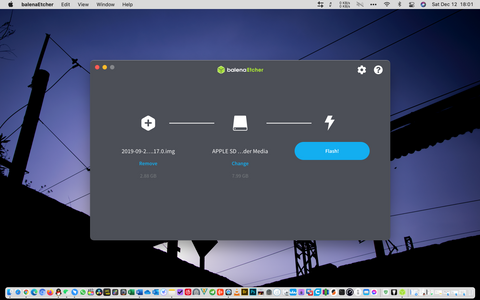
3. Write in Octopi system.
Insert SD card into the card reader and connect to the computer. Open the already installed Etcher. Select the download Octopi firmware on the card, and then click on “Flash”.
Note: before writing in, please make backup.
4. Remove card reader after successfully written-in, and then reconnect it (won’t read if not doing this).
5. Revise octopi-wpa-supplicant.txt file and write in local Wi-Fi account and password. Find octopi-wpa-supplicant.txt file first.
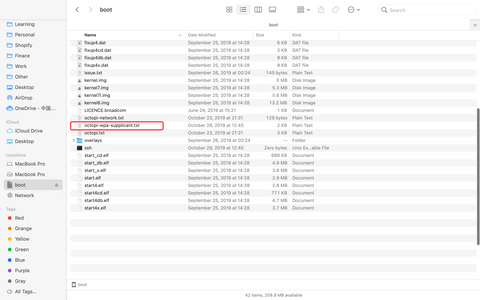
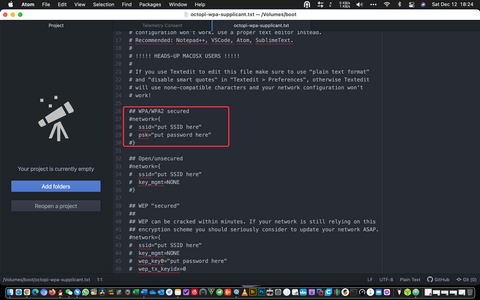
Open with Atom.app on Mac book. (https://atom.io/download/mac) Find below codes. Here they are at line 27 – 30. Remove “#” at the beginning of each line and write in WI-FI information.
ssid="Wi-Fi account name "
psk="password" (see below picture for reference)
Then click to save it.
Remove card reader and then insert the SD card into the slot of the Raspberry Pi.

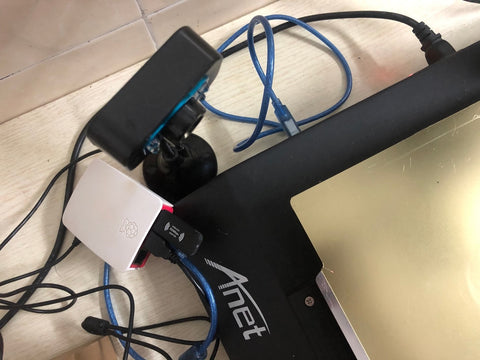
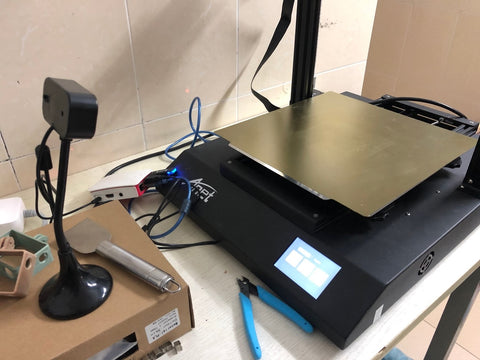
5. Assemble Raspberry Pi.
Connect Raspberry Pi with the adapter, 3D printer, Ralink 3070 WLAN card, webcam and power supply to start Raspberry Pi.
Wait 1 or 2 minutes and then visit http://octopi.local in your browser and begin to set Octopi.
Note: the network used here should be the same as the preset one for visiting.
Click on “Next” and input username and password, and then click on “Keep Access Control Enabled”, and then click on “Next”. Click on “Enable Anonymous Usage Tracking” and then click “Next”.
Note: if you don’t want to submit anonymous enhance data, you can click on “Disable Anonymous Usage Tracking” to proceed.
Click on “Enable Connectivity Check” and then click on “Next”.
Click on “Enable Plugin Blacklist Processing” and then click “Next”.
Input 3D printer name. Here we use an Anet ET5 Pro 3D printer. Then setting print parameters.
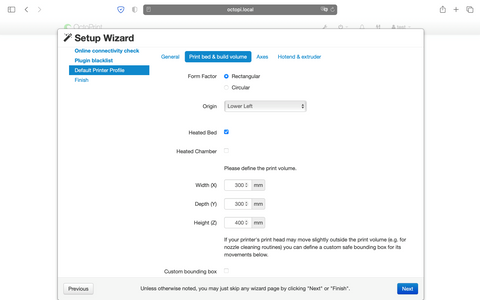
For the print settings of Anet ET5, ET5X series printers, you could refer to our Cura 4.7.1 Settings for Anet ET4 Series 3D Printers and Cura 4.7.1 for Anet ET5 3D Printer. After setting completes, click on “Next”, until all the settings are done.
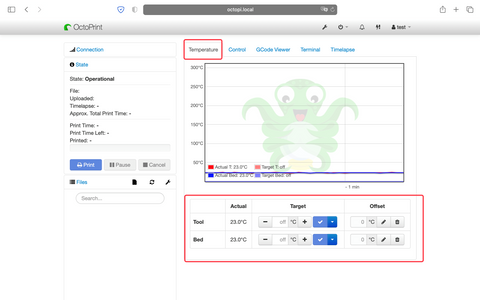
After successful log in “Octopi.local”, select default setting and connect it to the printer. Click on “Temperature” and we can set printing temperatures here.
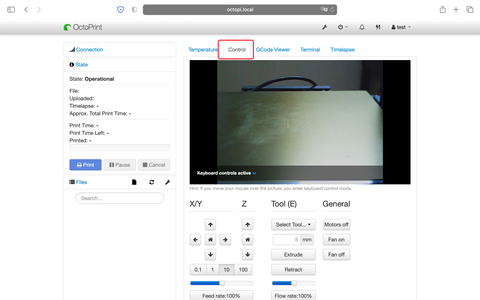
Click on “Control” and we can see the webcam works well and video 3D printing here. Also we can adjust webcam position and control the printer through the buttons at this section.
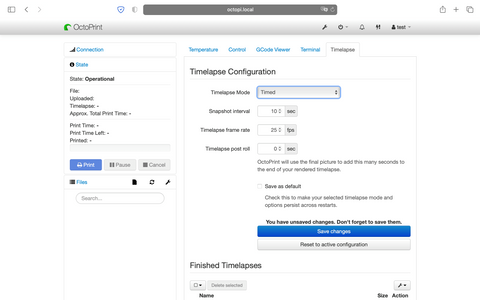
Click on “Timelapse” and we can start time-lapse photography. We can make settings according to our own desire. Also we turn it off if it’s not connected.
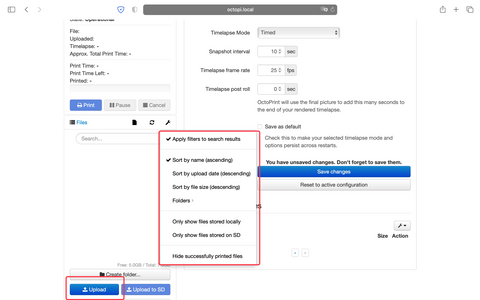
On the “Files” section on the left conner, we can click on “Upload” to add new printing files or select files in SD card to print. There are various advanced settings we can make here.
Click on the file and the printer will print it. Also we can pause or cancel the print here.

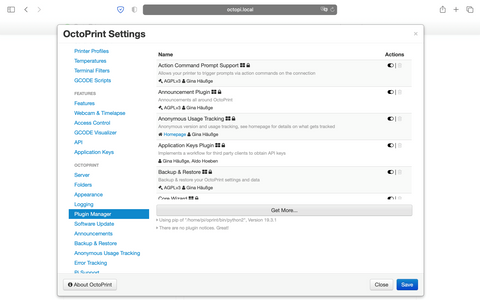
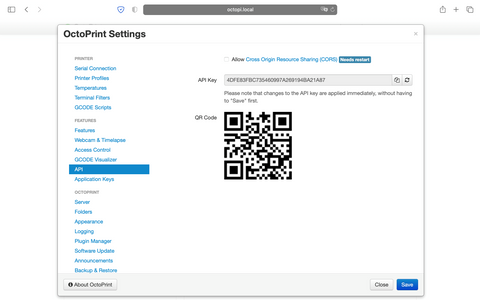
Click on the wrench icon at the top, we enter the advanced setting interface.
![]()
On the setting list, there is a “Plugin Manager” setting, which is quite necessary option for Octopi. In the next article, we’ll recommend some required plug-ins and introduce how set “Octoeverywhere” to control your 3D printer at anywhere through network.
Another important setting is the API for smart phone control on 3D printing. In the coming articles, we’ll show how to use port transmission function to control your 3D printer with a phone App.
Ok, that’s all for Octopi connected remote 3D printing. Wish you a happy printing with Anet ET5X series 3D printers!
Leave a comment